
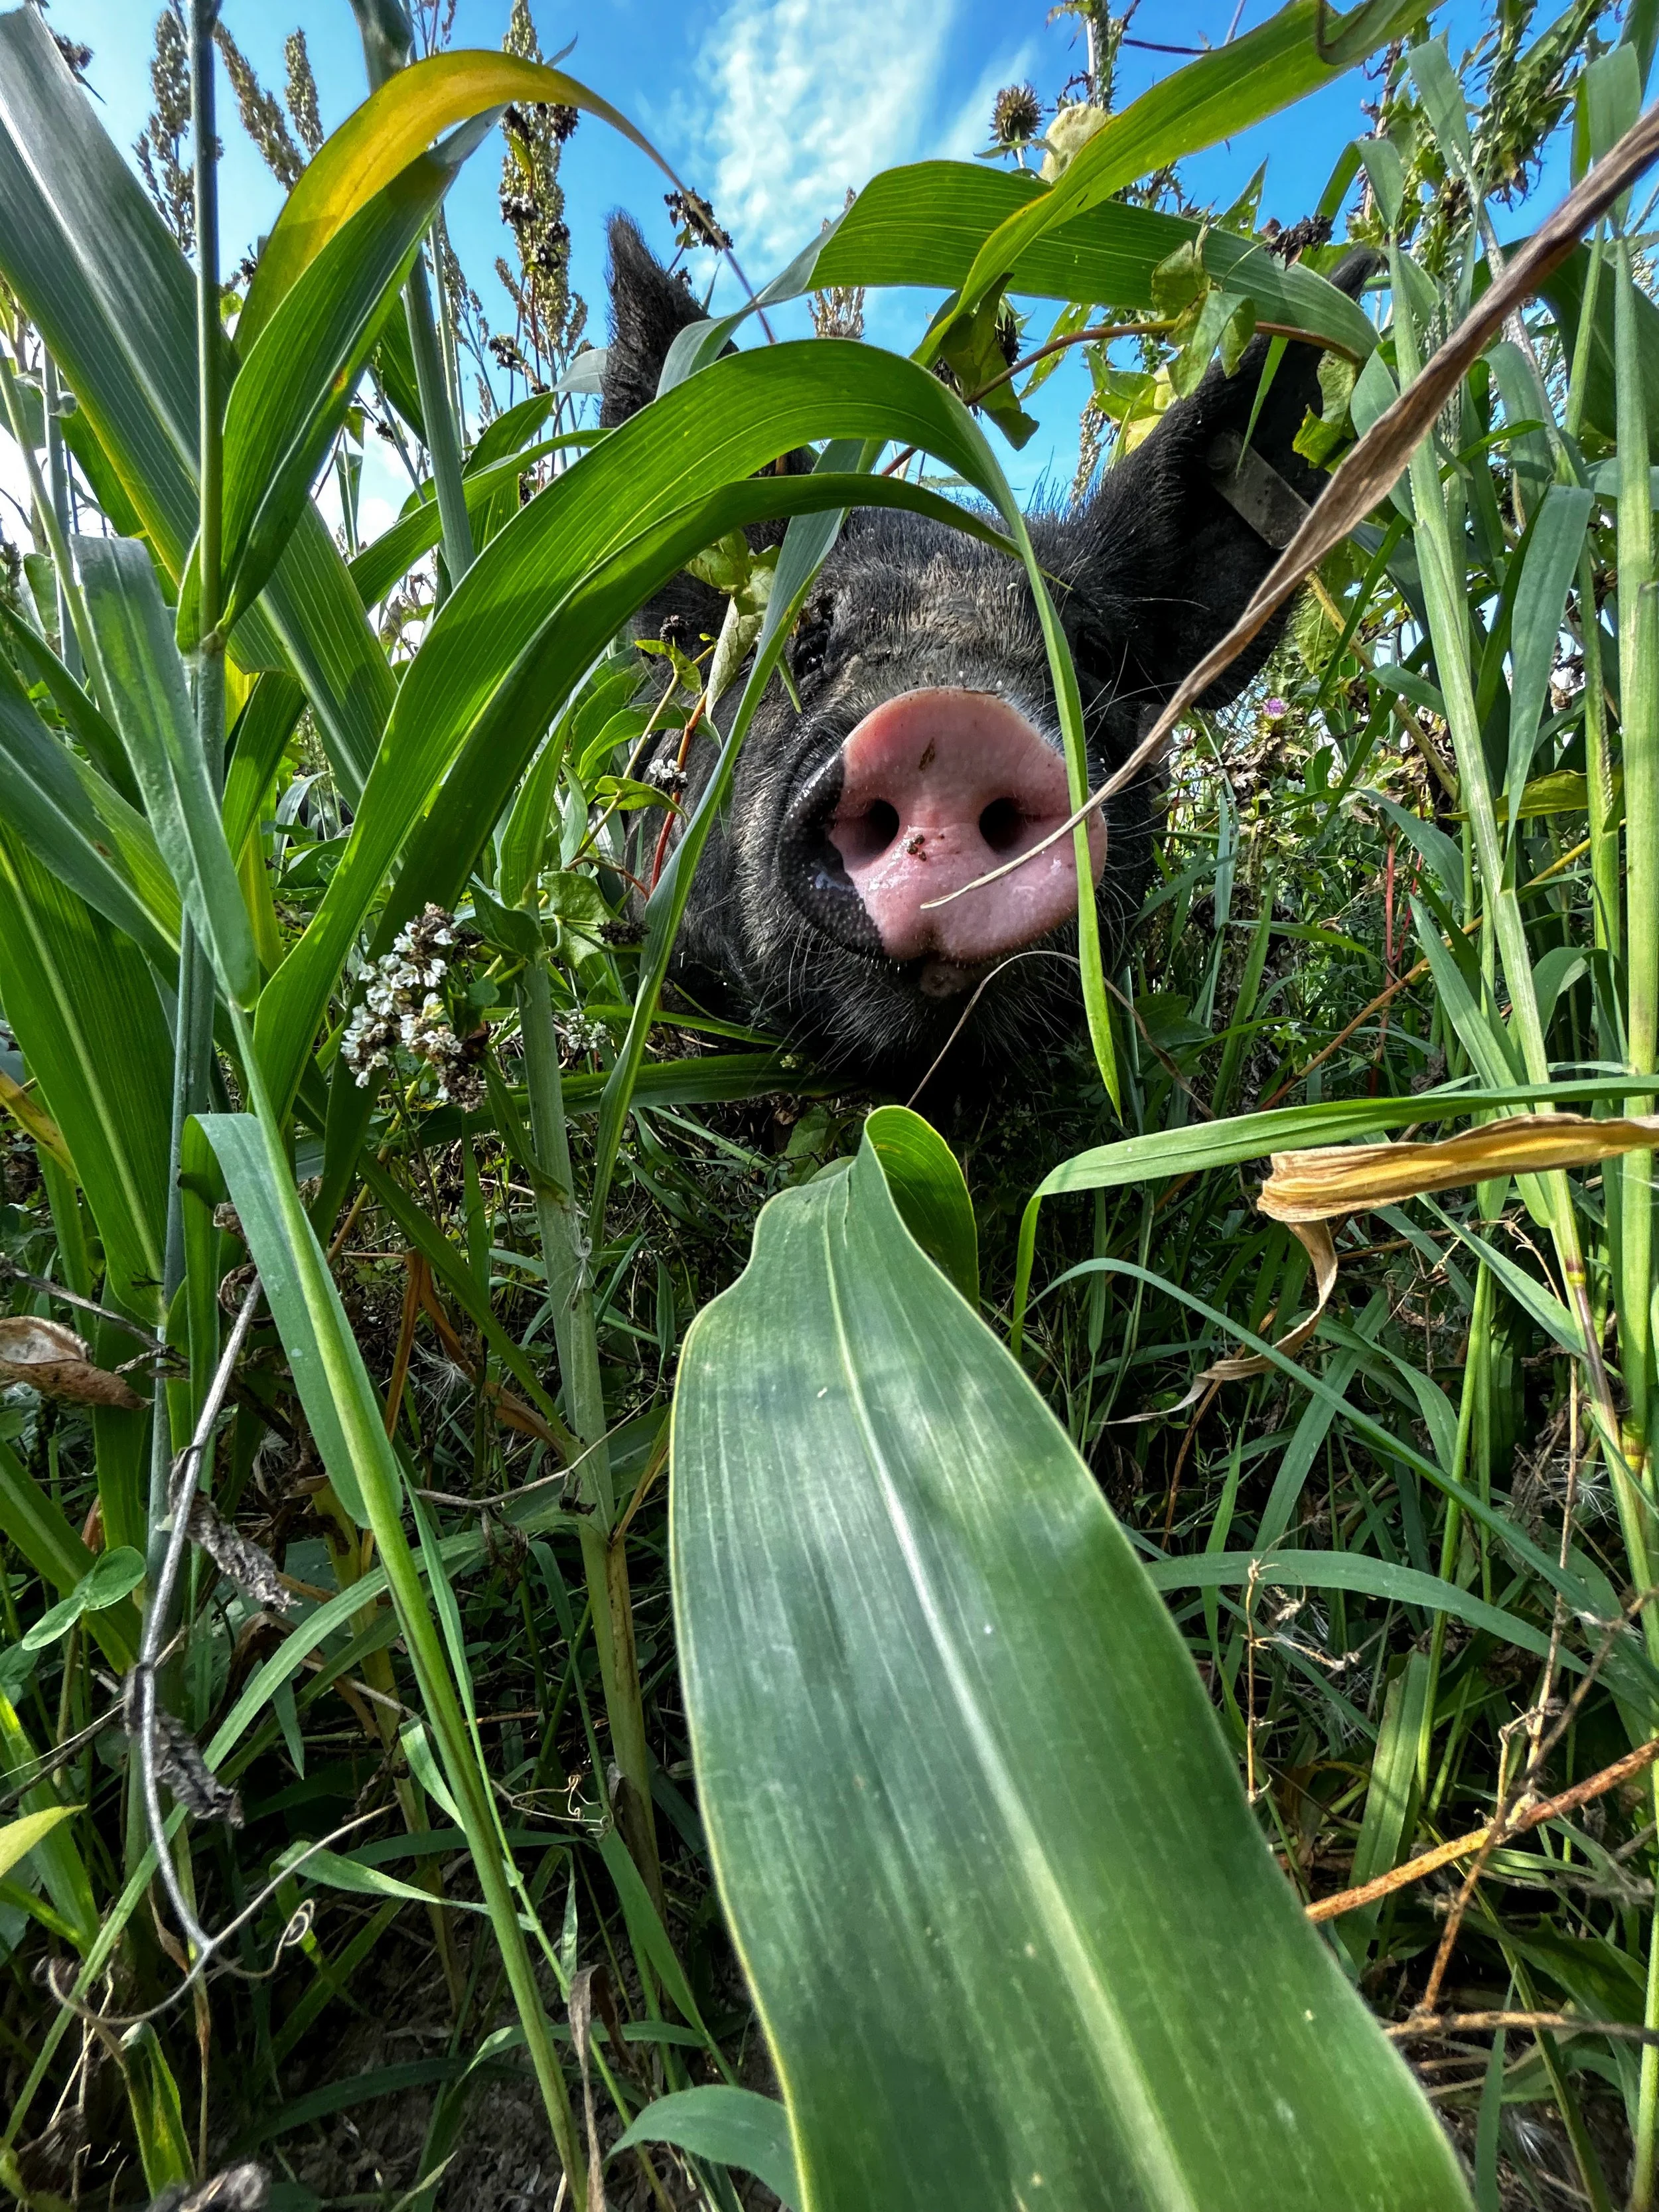
Pastured pork, with care
Hear from Molly, our Pig Lead on the farm, about how we manage and care for our pigs to ensure a high quality of life and minimal stress for the animals.

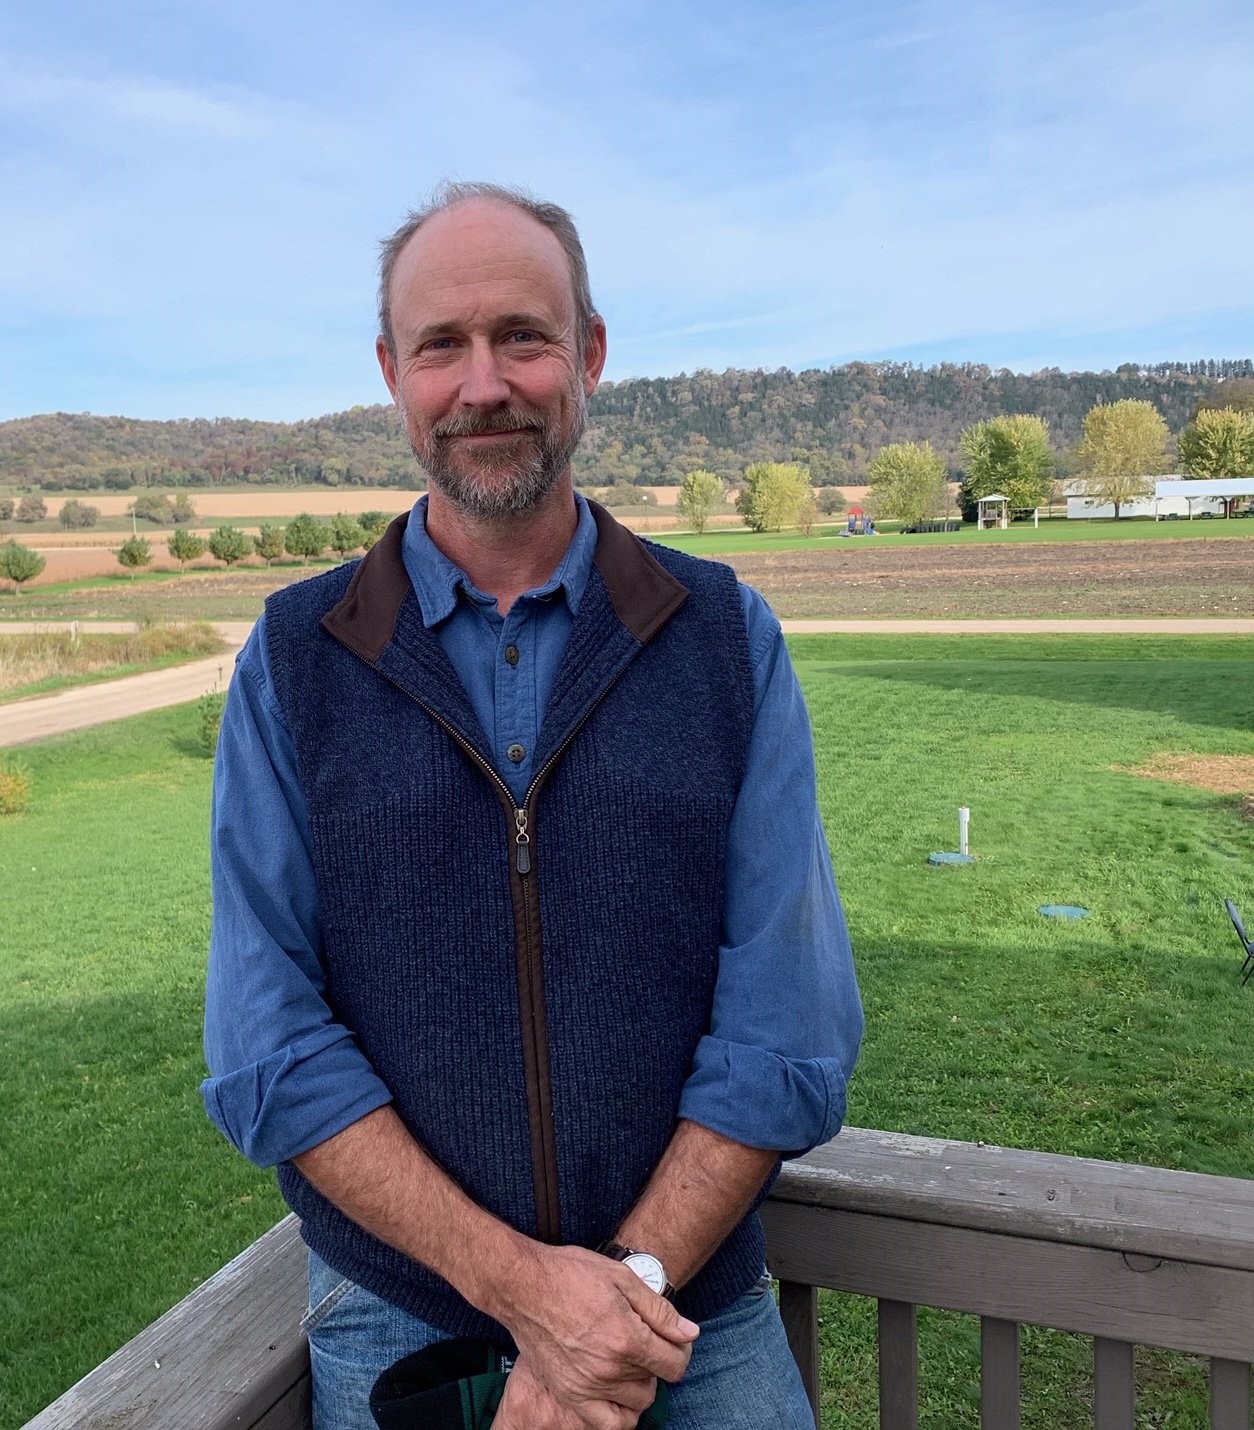
Farmer Jack post-retirement
Hear from Farmer Jack on how his year of retirement has gone, and what he’s finding purpose in after stepping away from day-to-day operations of the farm.

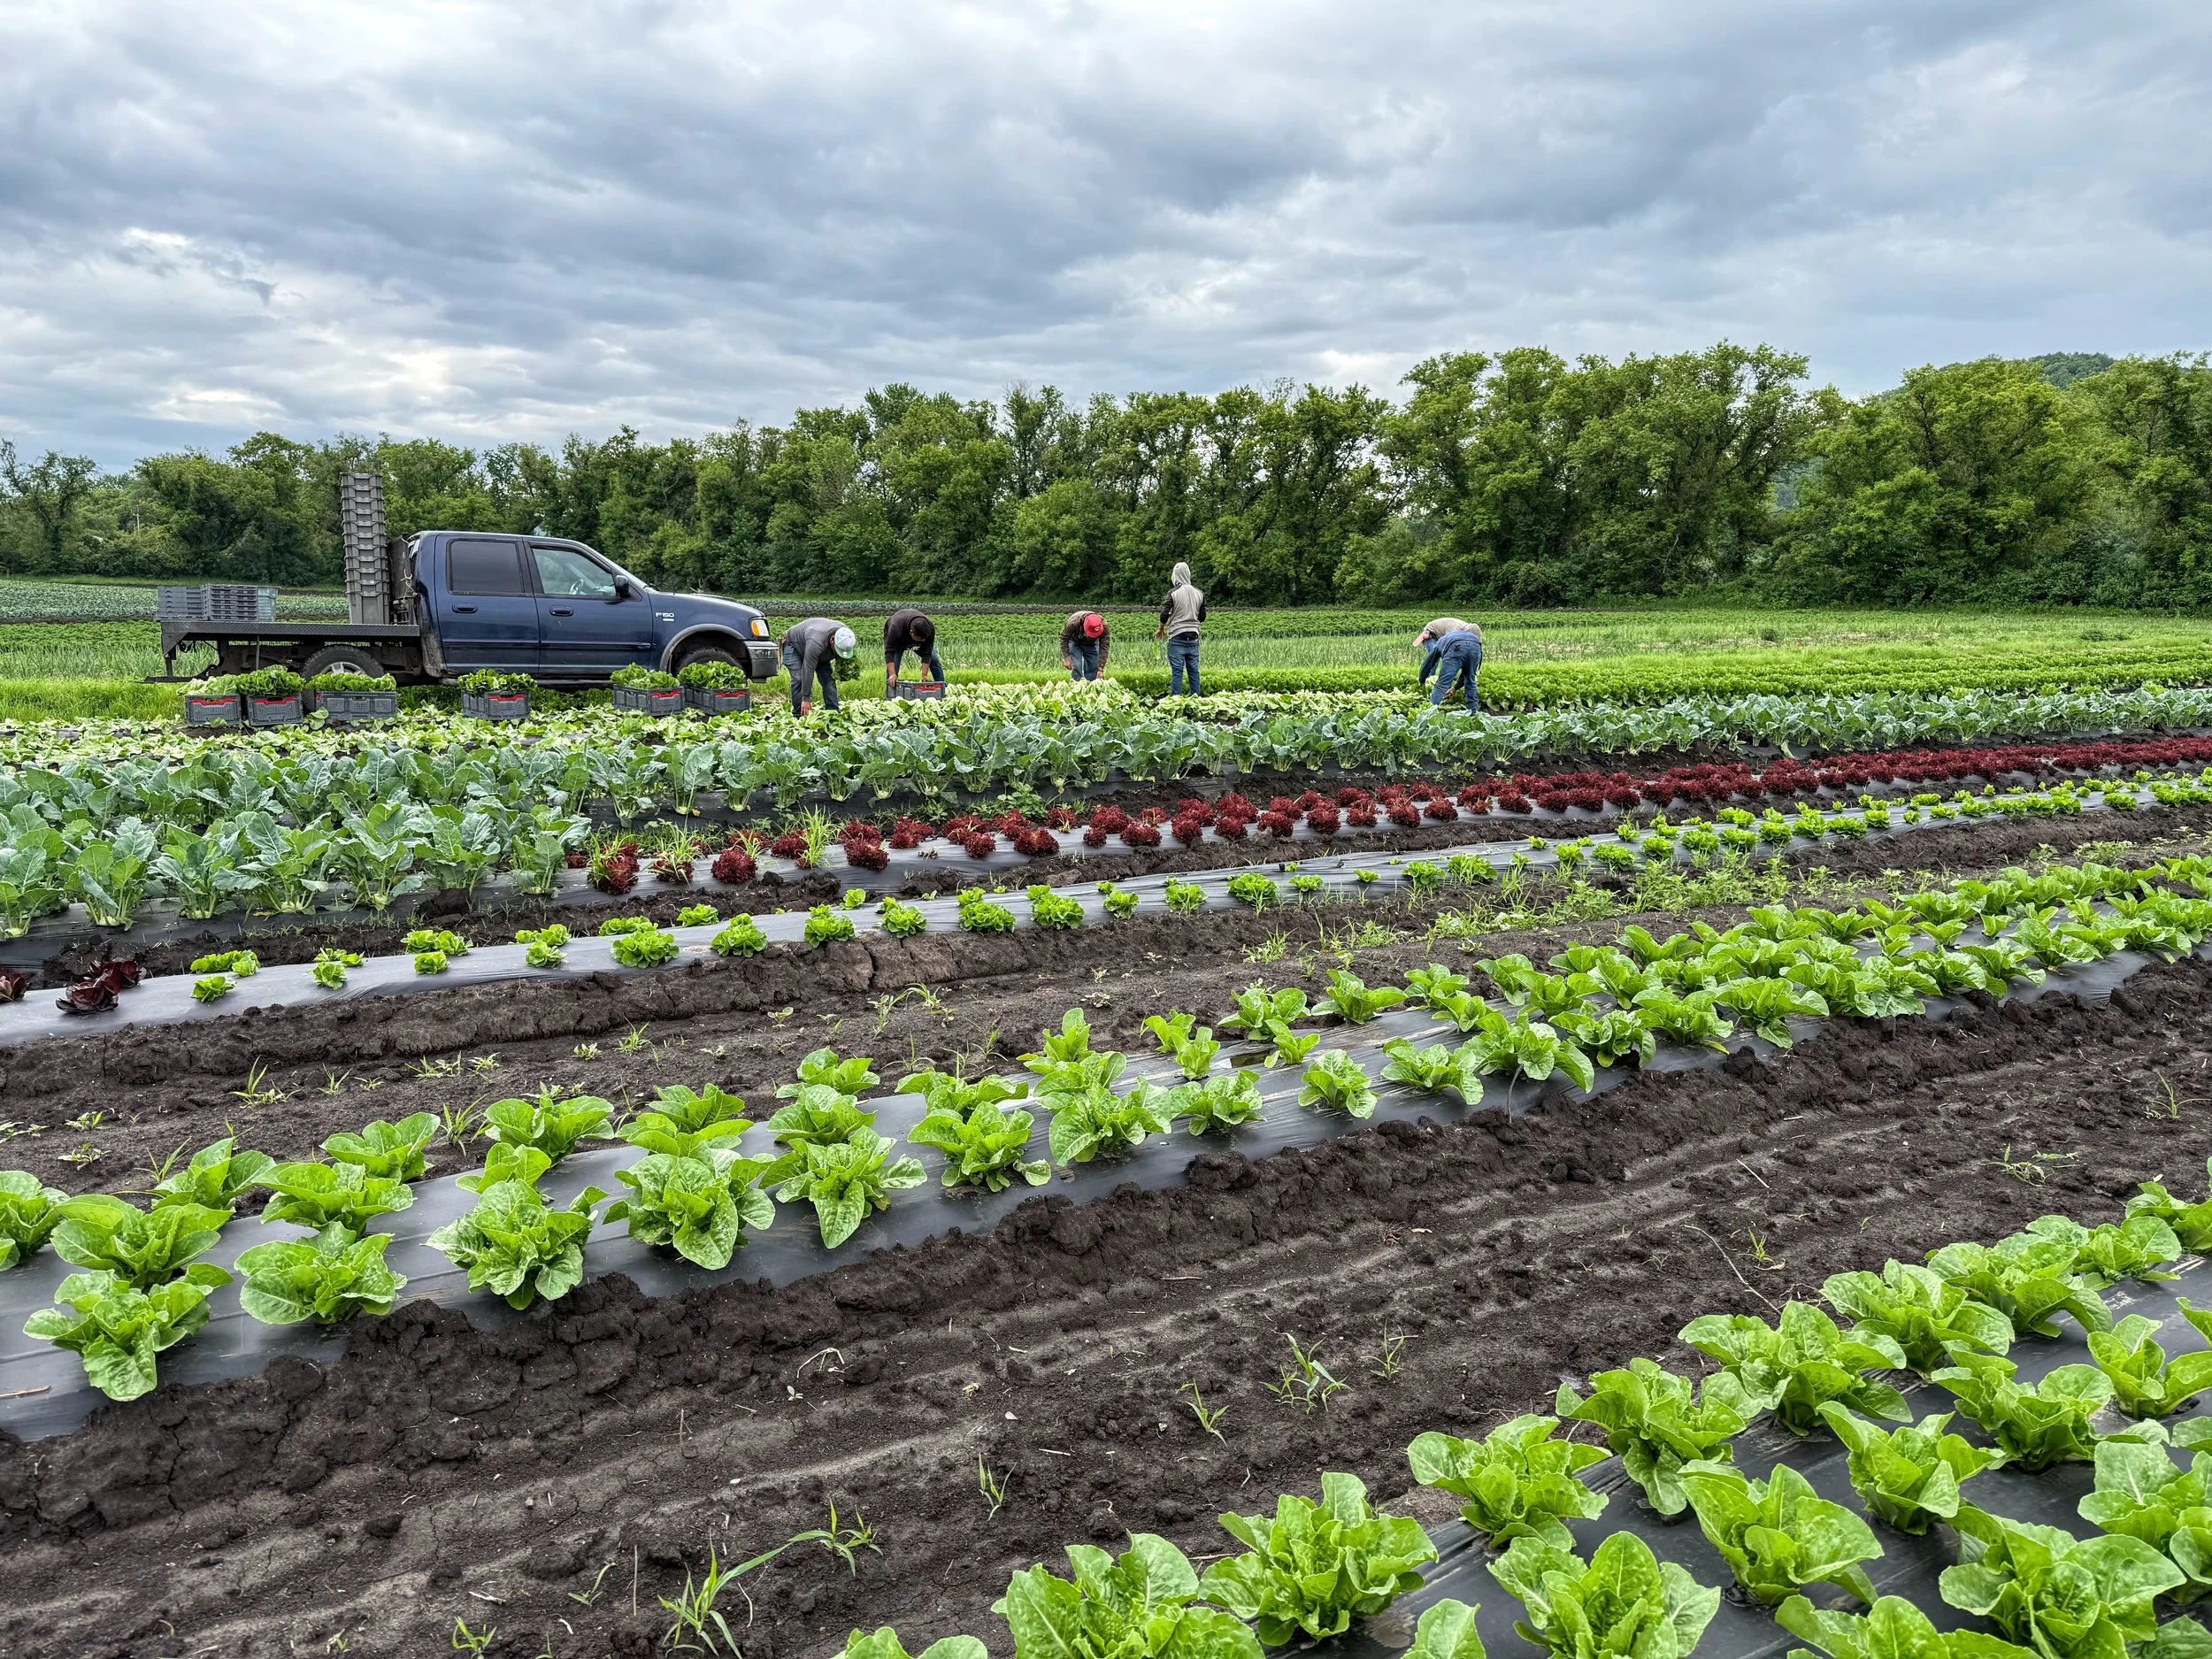
The Journey of a Veggie
How does a head of lettuce get from our farm to your kitchen? Follow along for every step of the way!
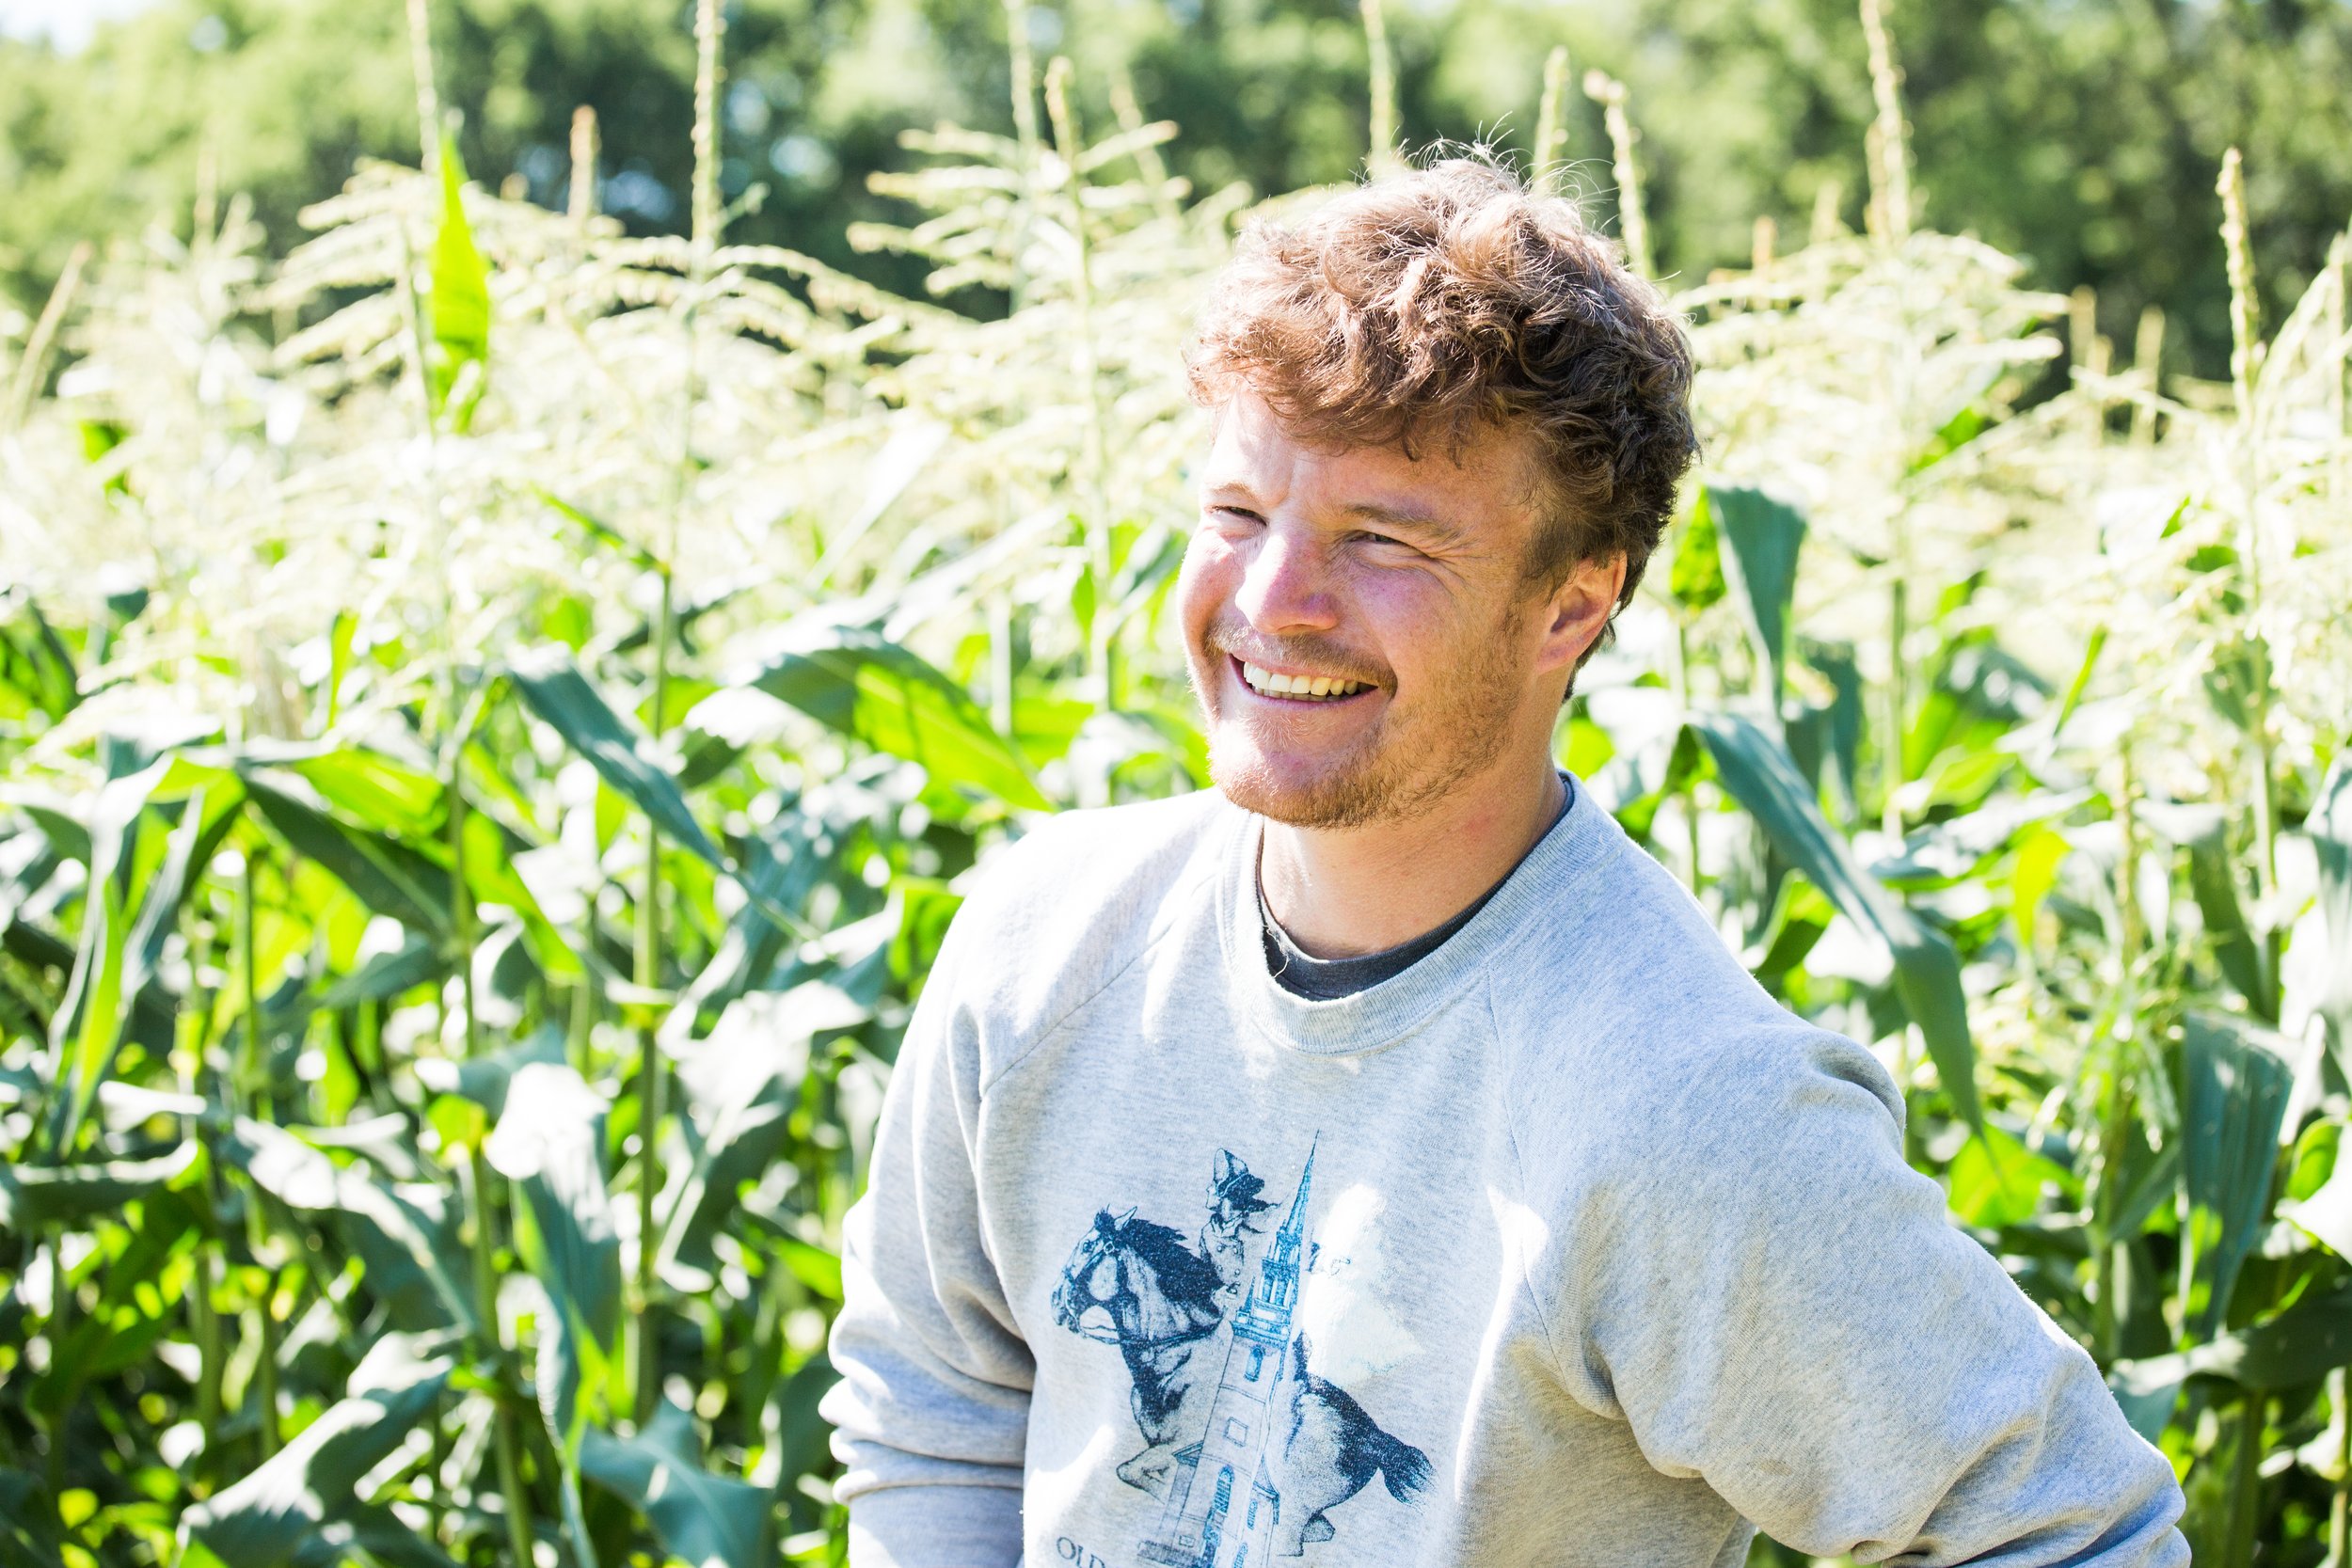
Featherstone’s Mission
Featherstone GM Nathan reflects on the farm’s mission statement as we head into another growing season.
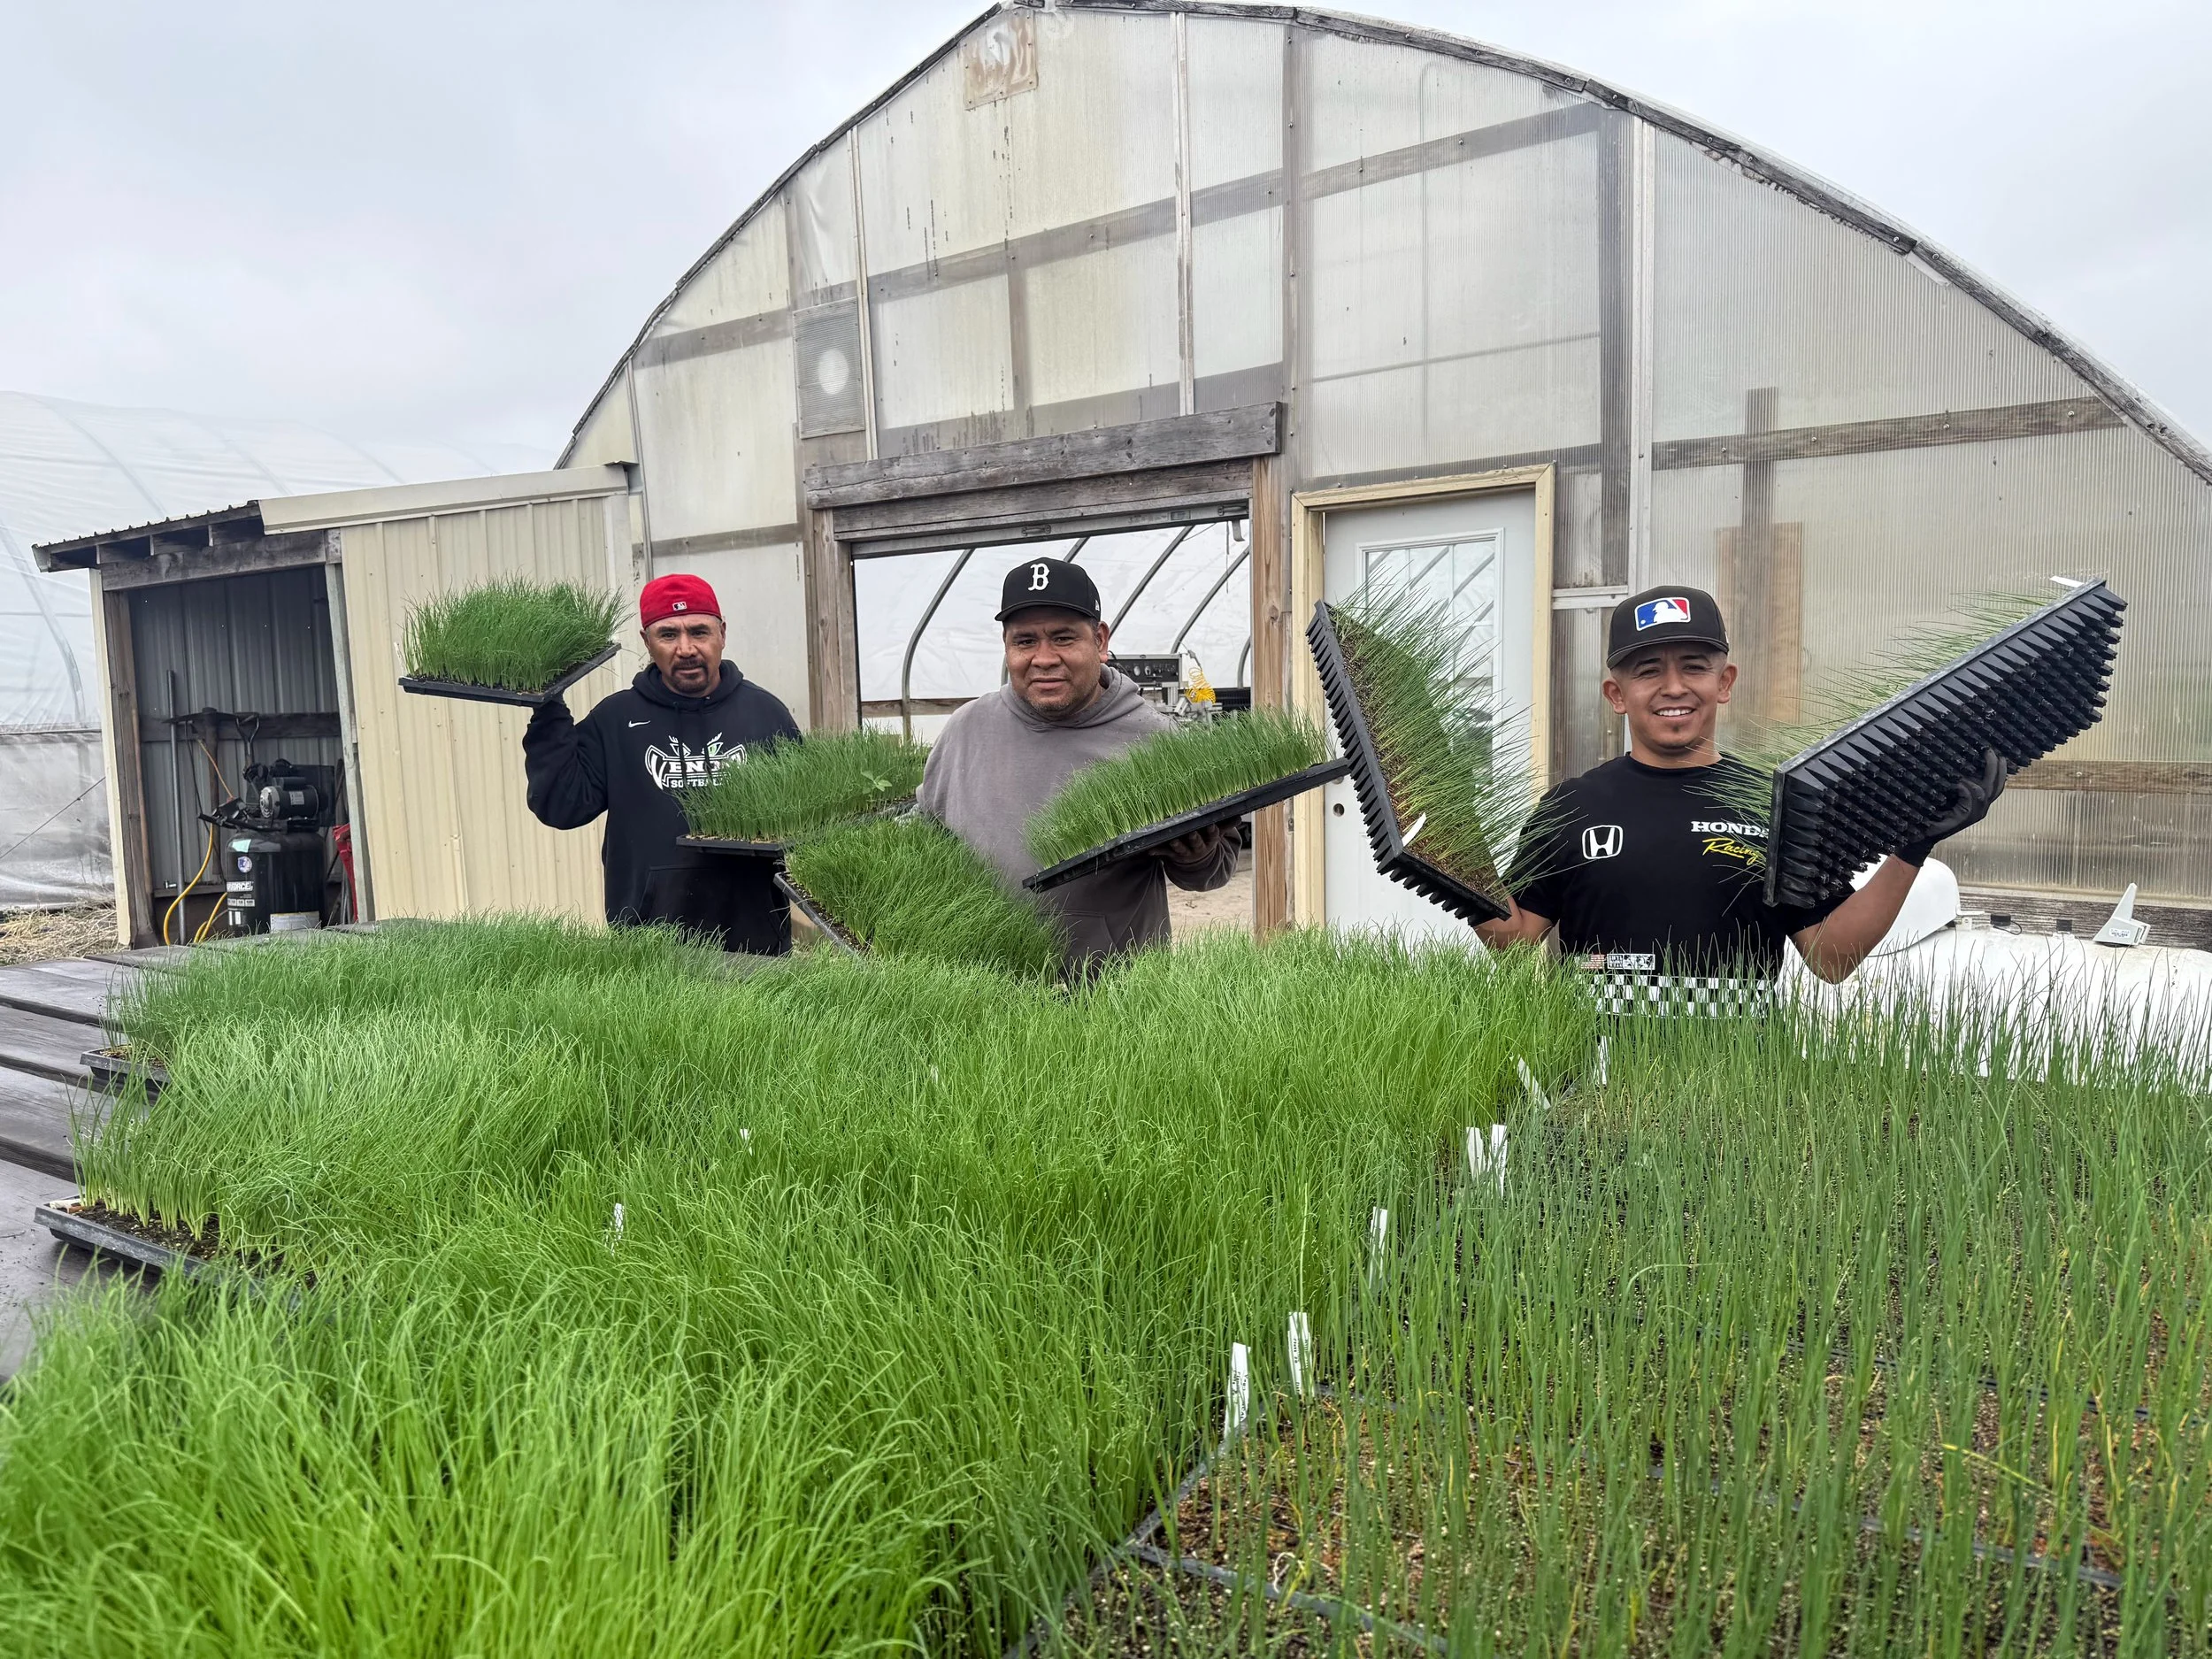
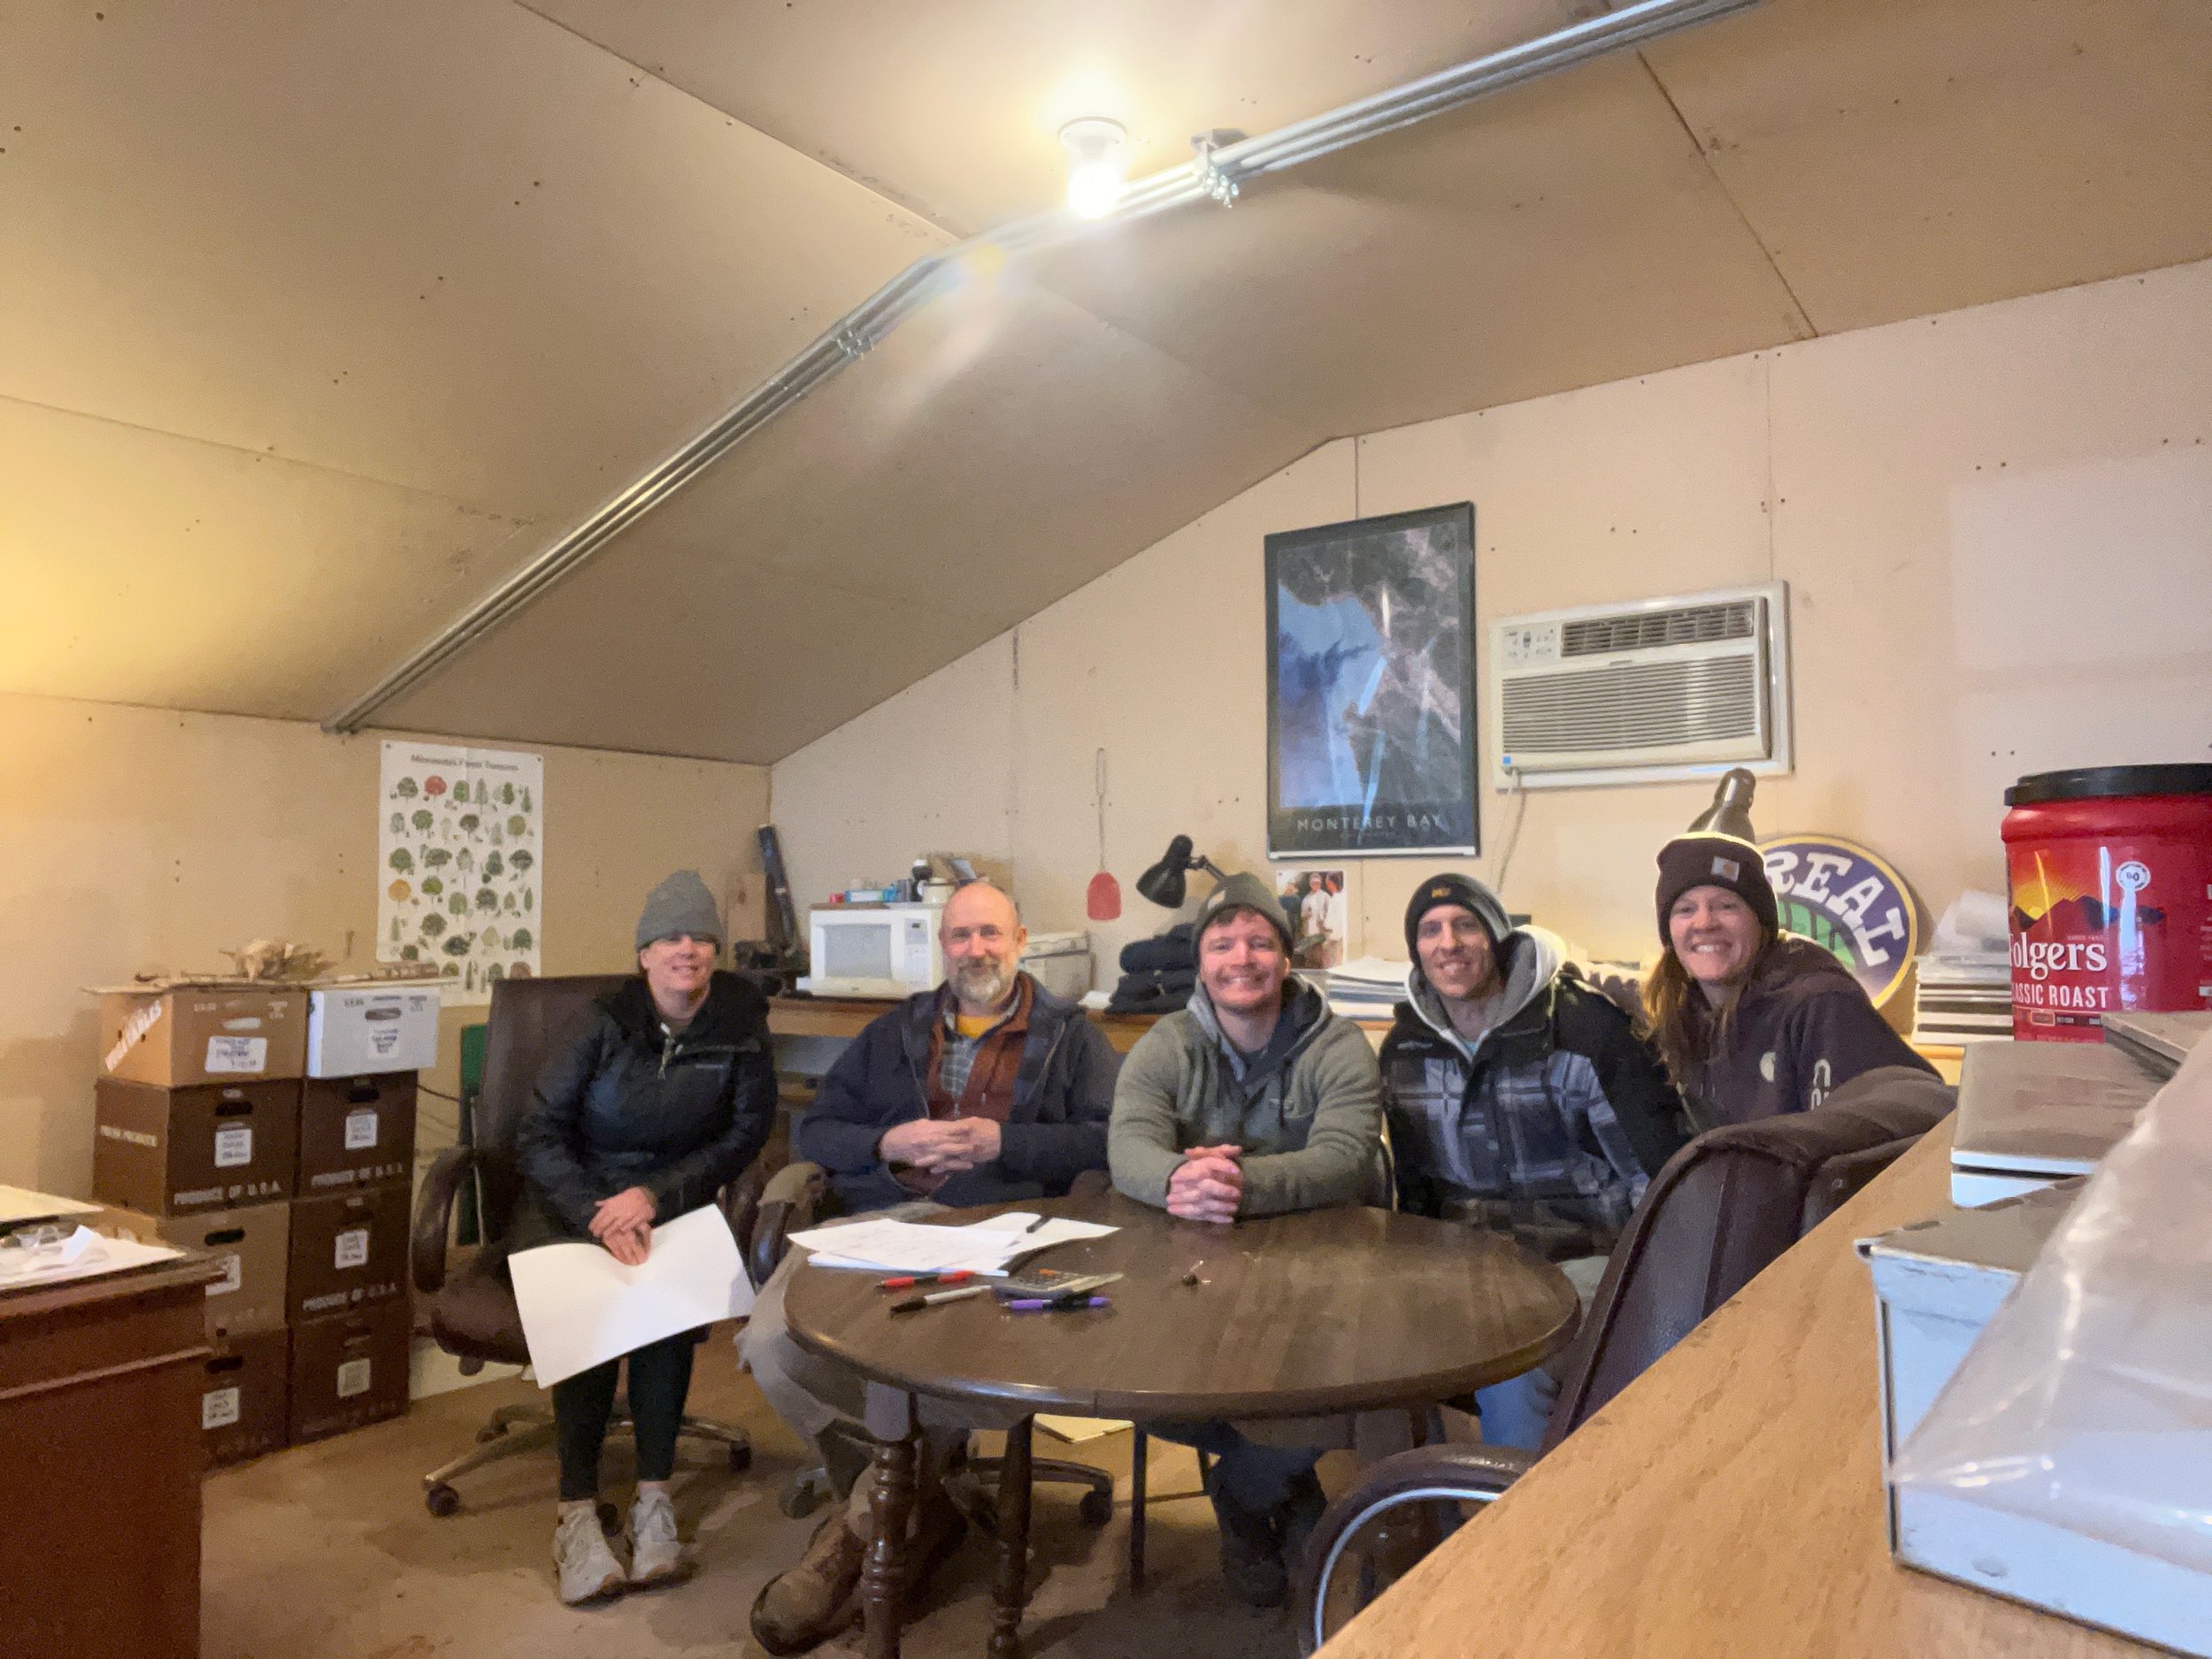
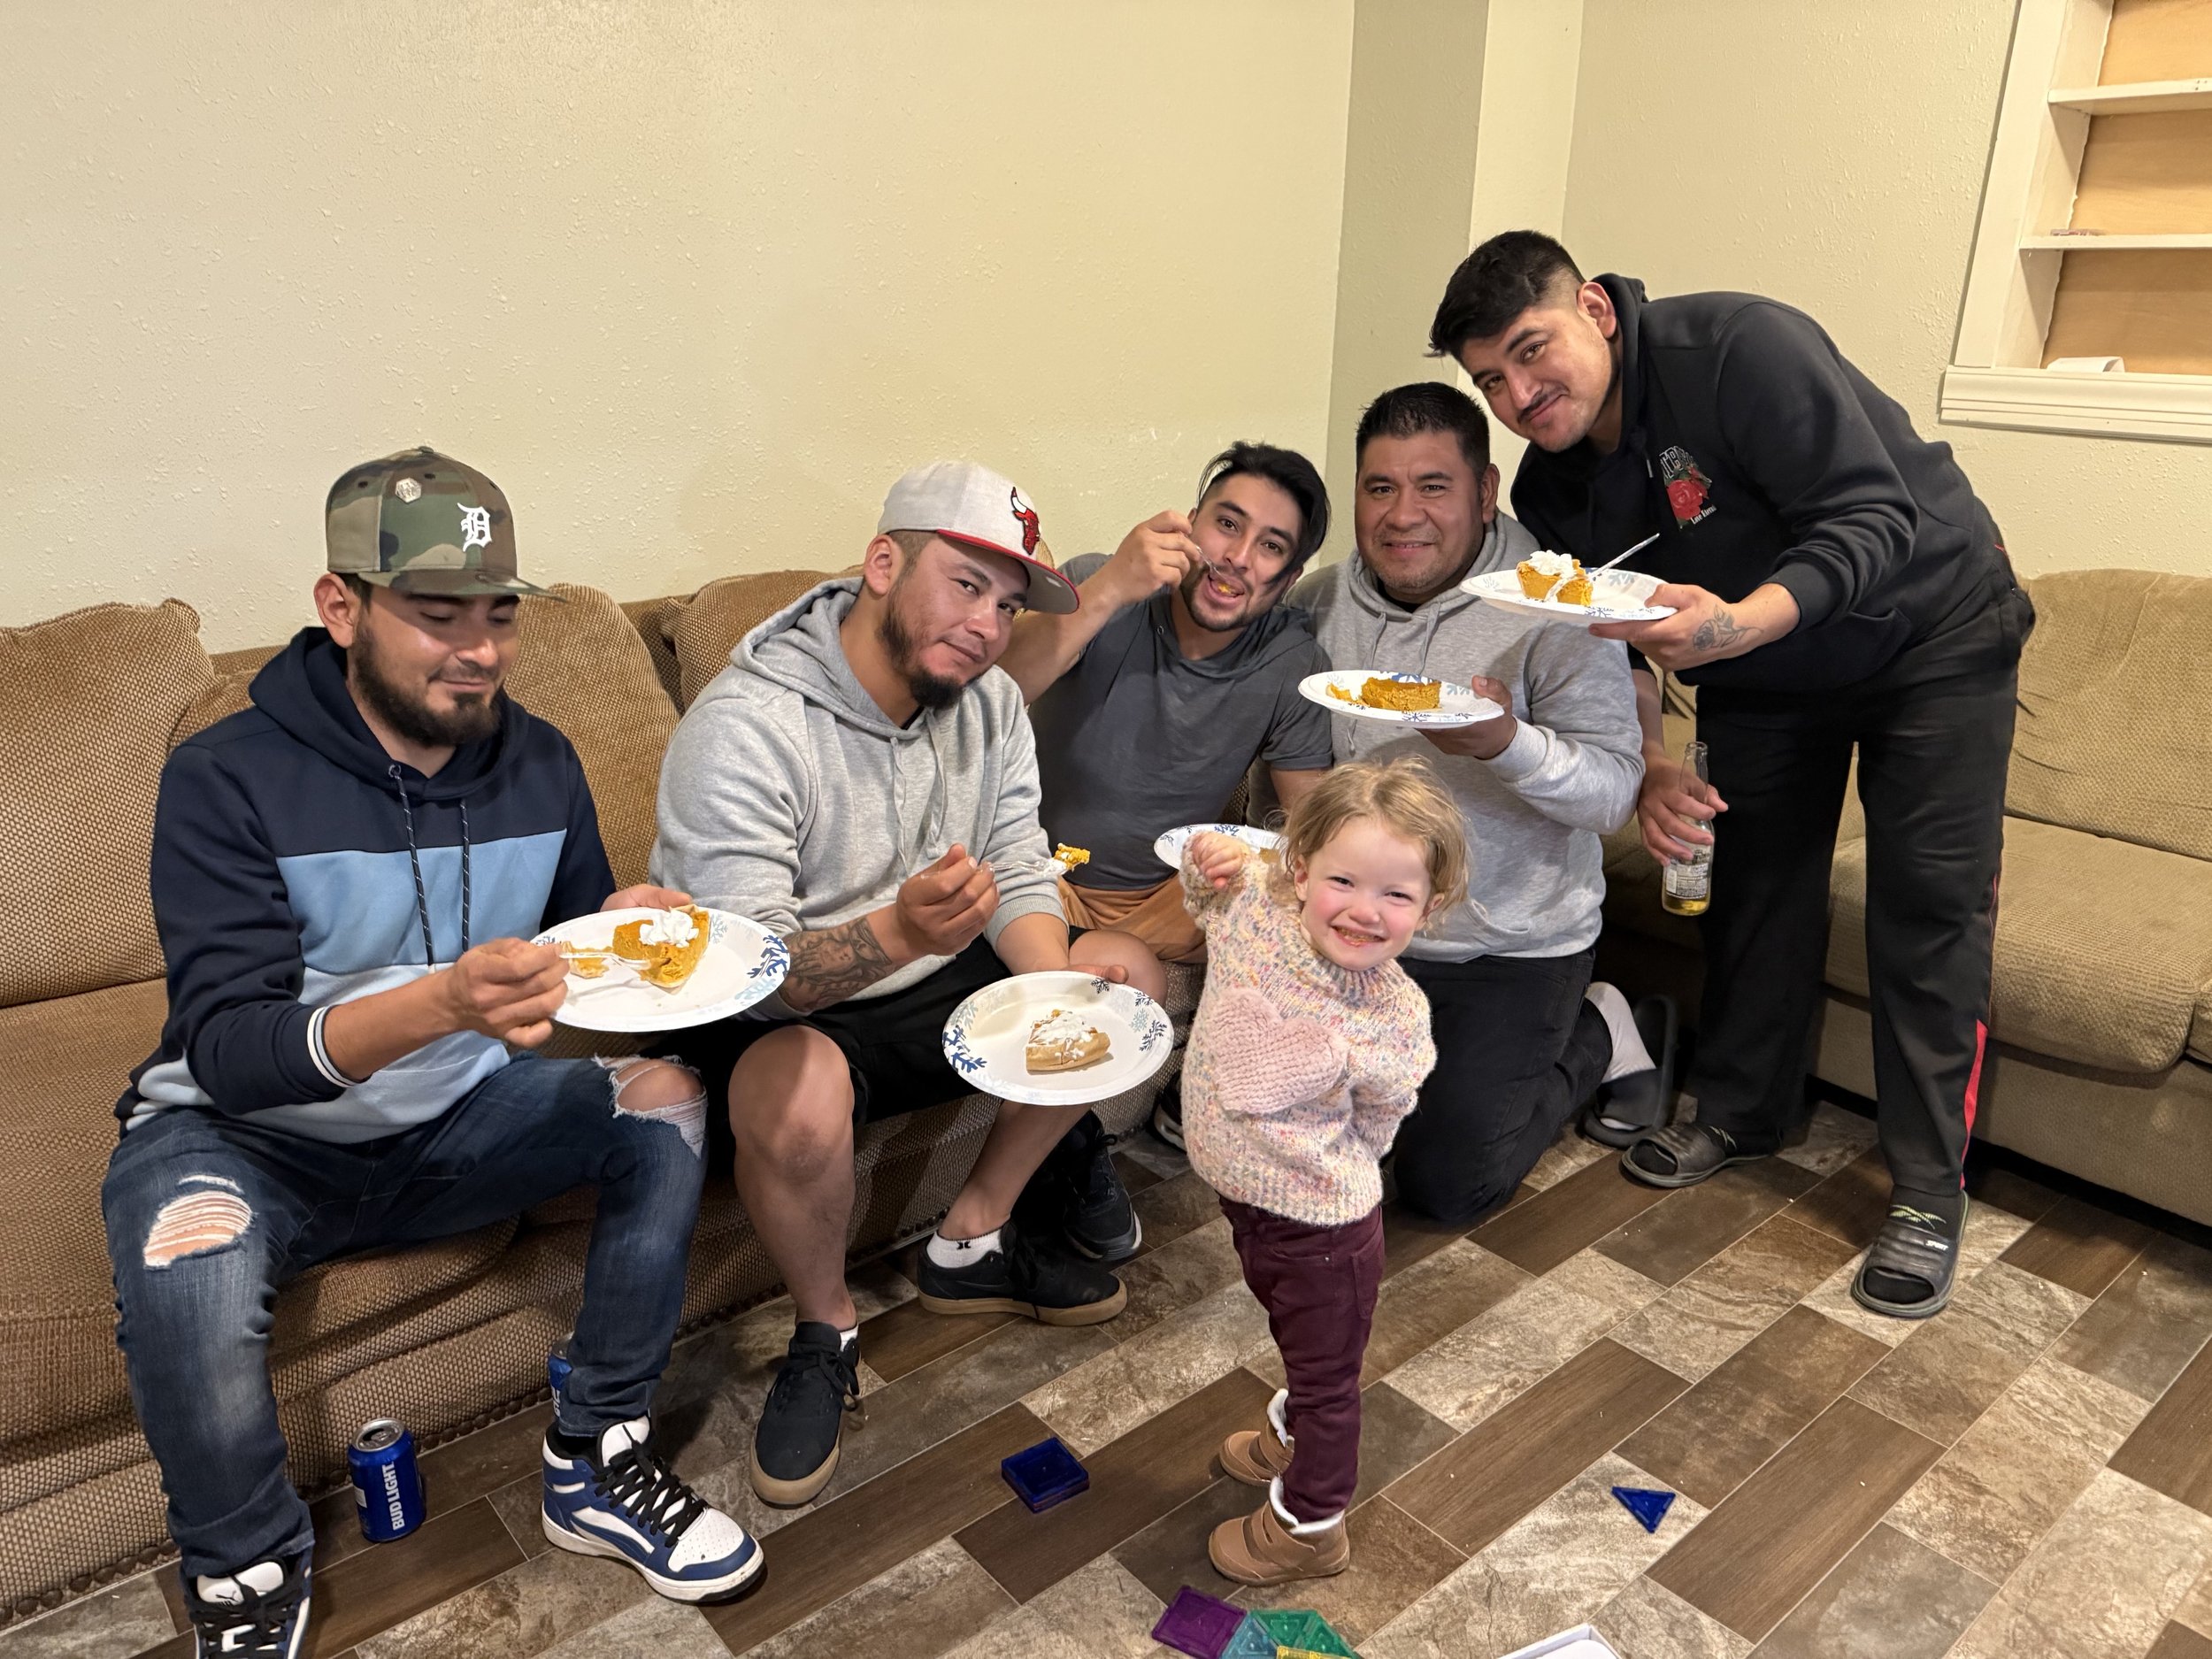
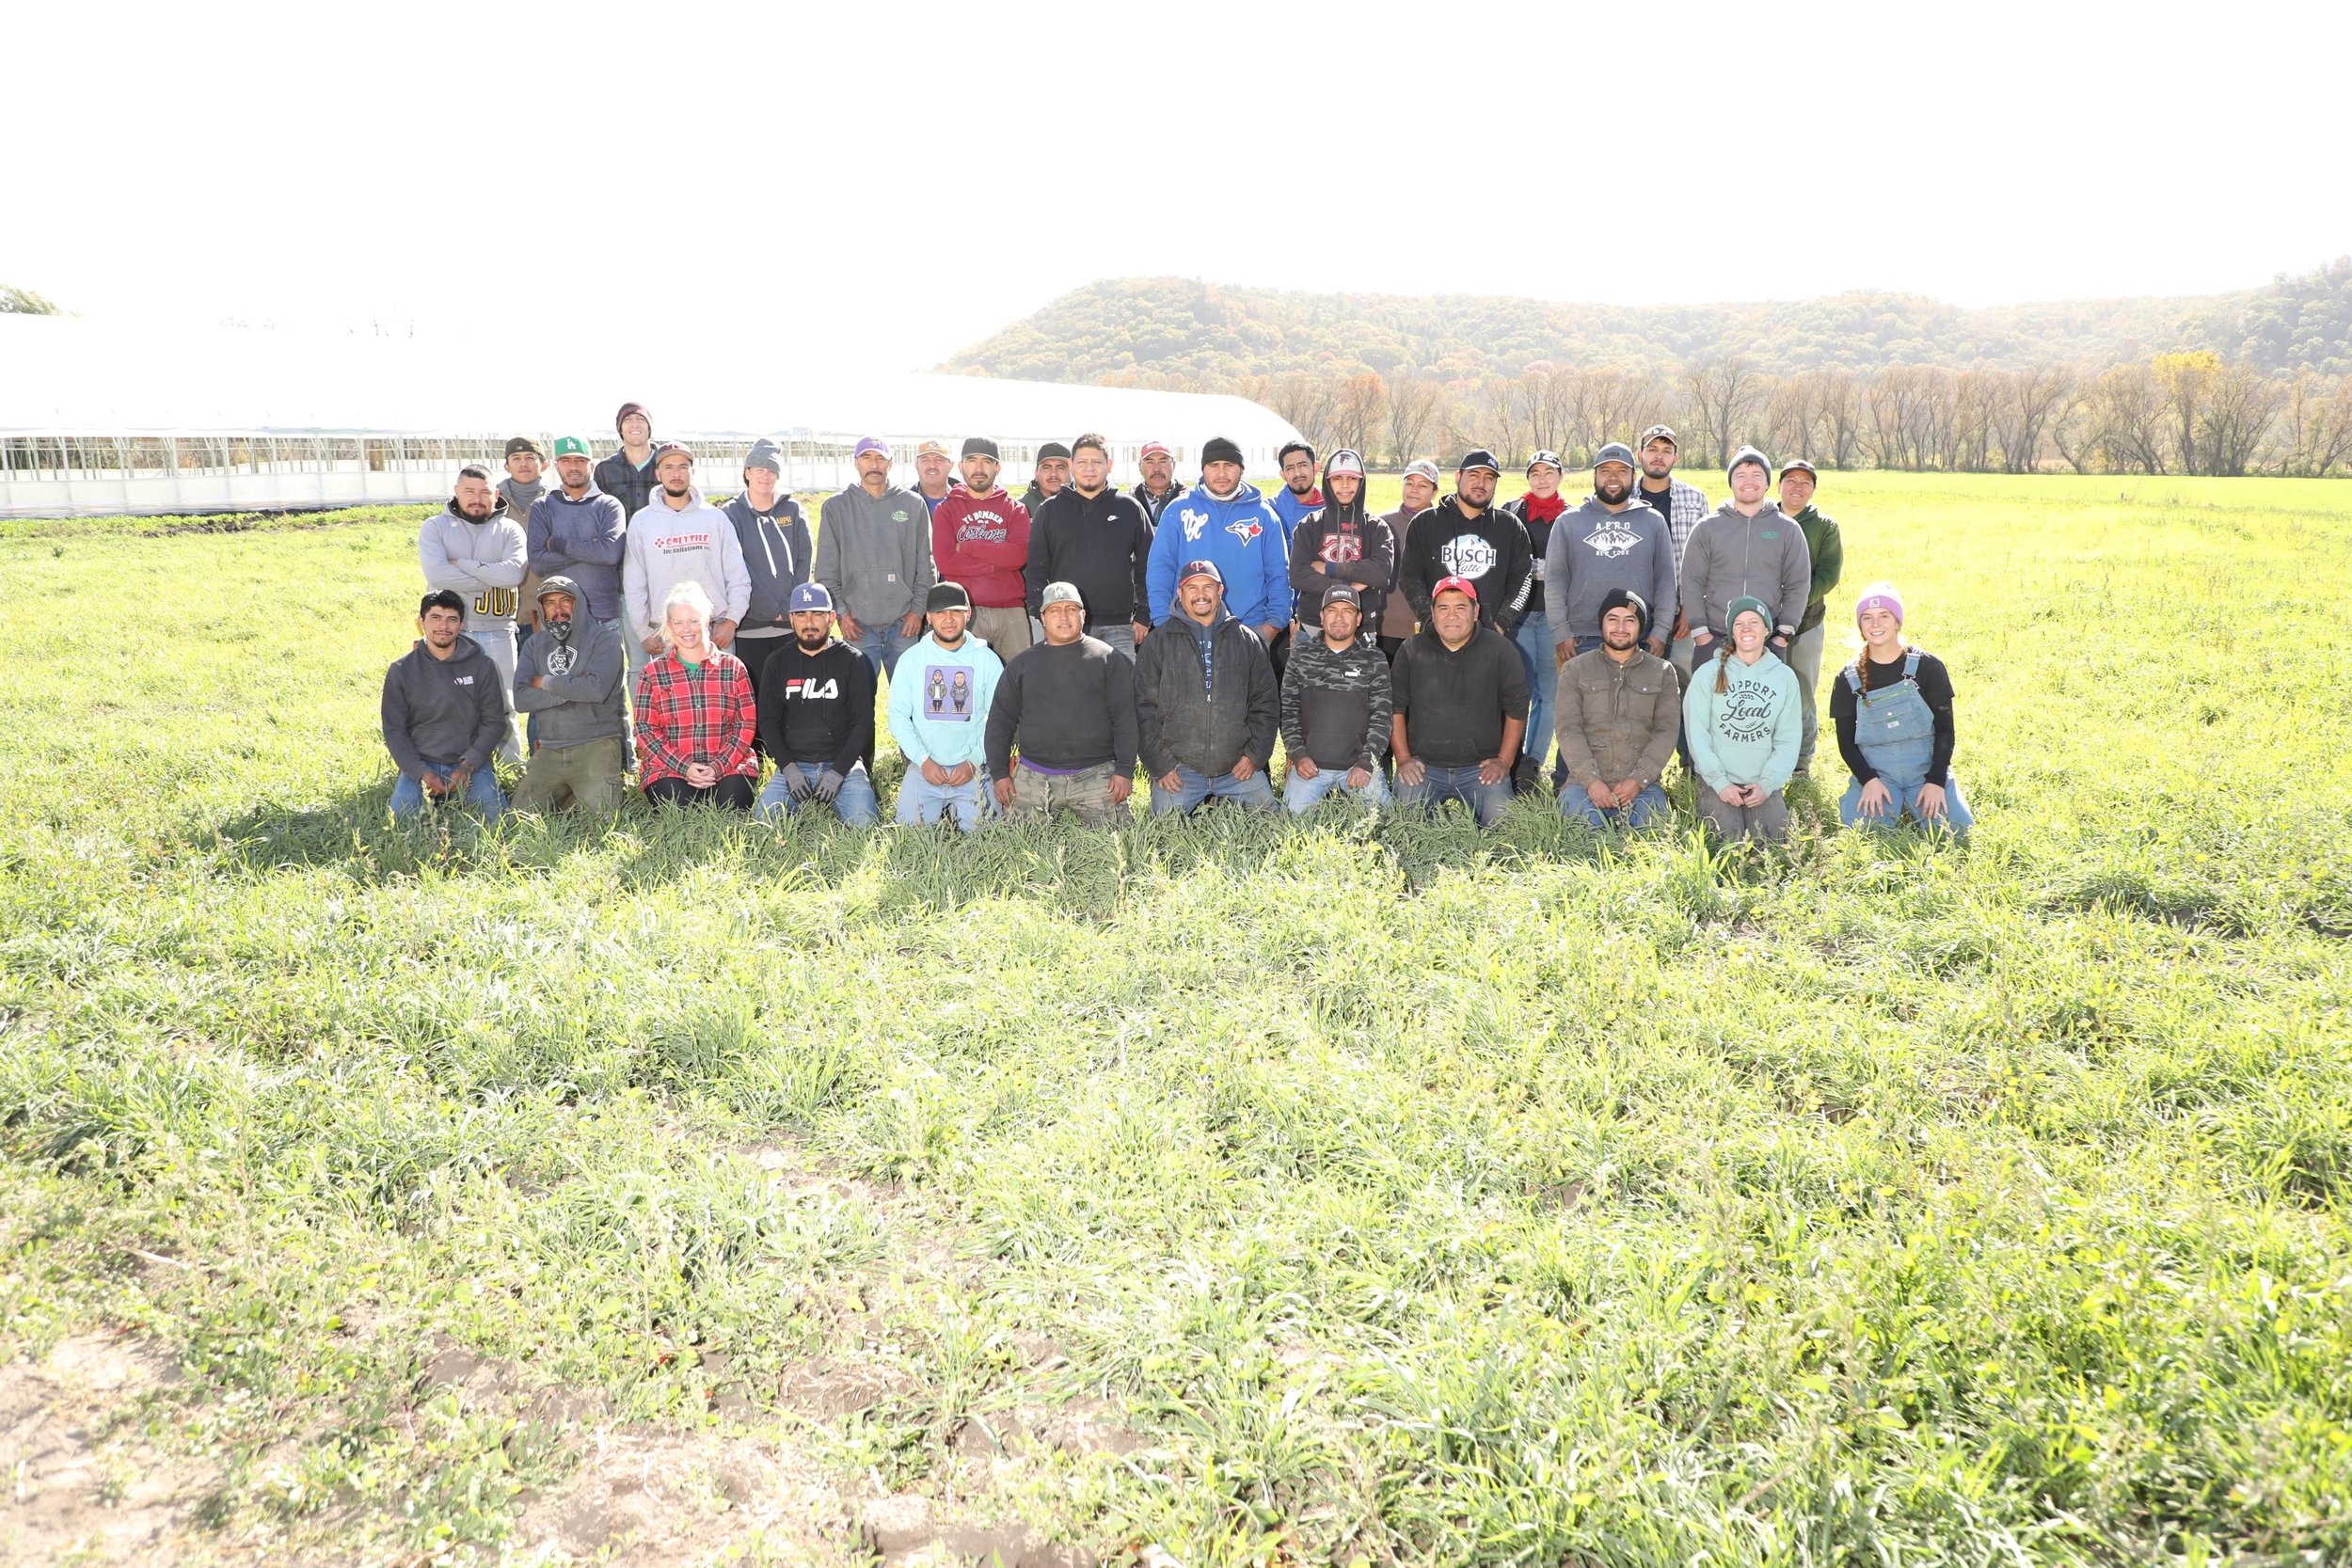
Fair Food: People at the Center of Our Season
Our first seasonal crew members have arrived along with the spring weather! Read on to learn more about this great group of long-time returning workers and our commitment to a culture of respect and transparency modeled by the Fair Food program.
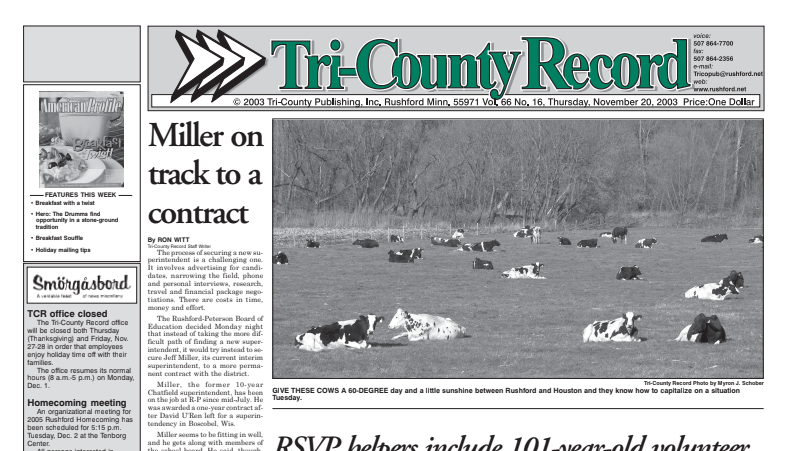
Several Truckloads of Generativity
Here's a story of Minnesota neighboring — the kind of good news story that makes my heart swell with gratitude, as the original Featherstone Farmer. To get the full impact of this, you need a bit of backstory…

Jack’s Update
Nearly six months into “retirement,” Jack shares an update on what life looks like, on the farm and beyond!

Featherstone Pastured Pigs
Featherstone’s first group of pastured pigs has arrived! Read about their first weeks on the farm and meet their caretakers.

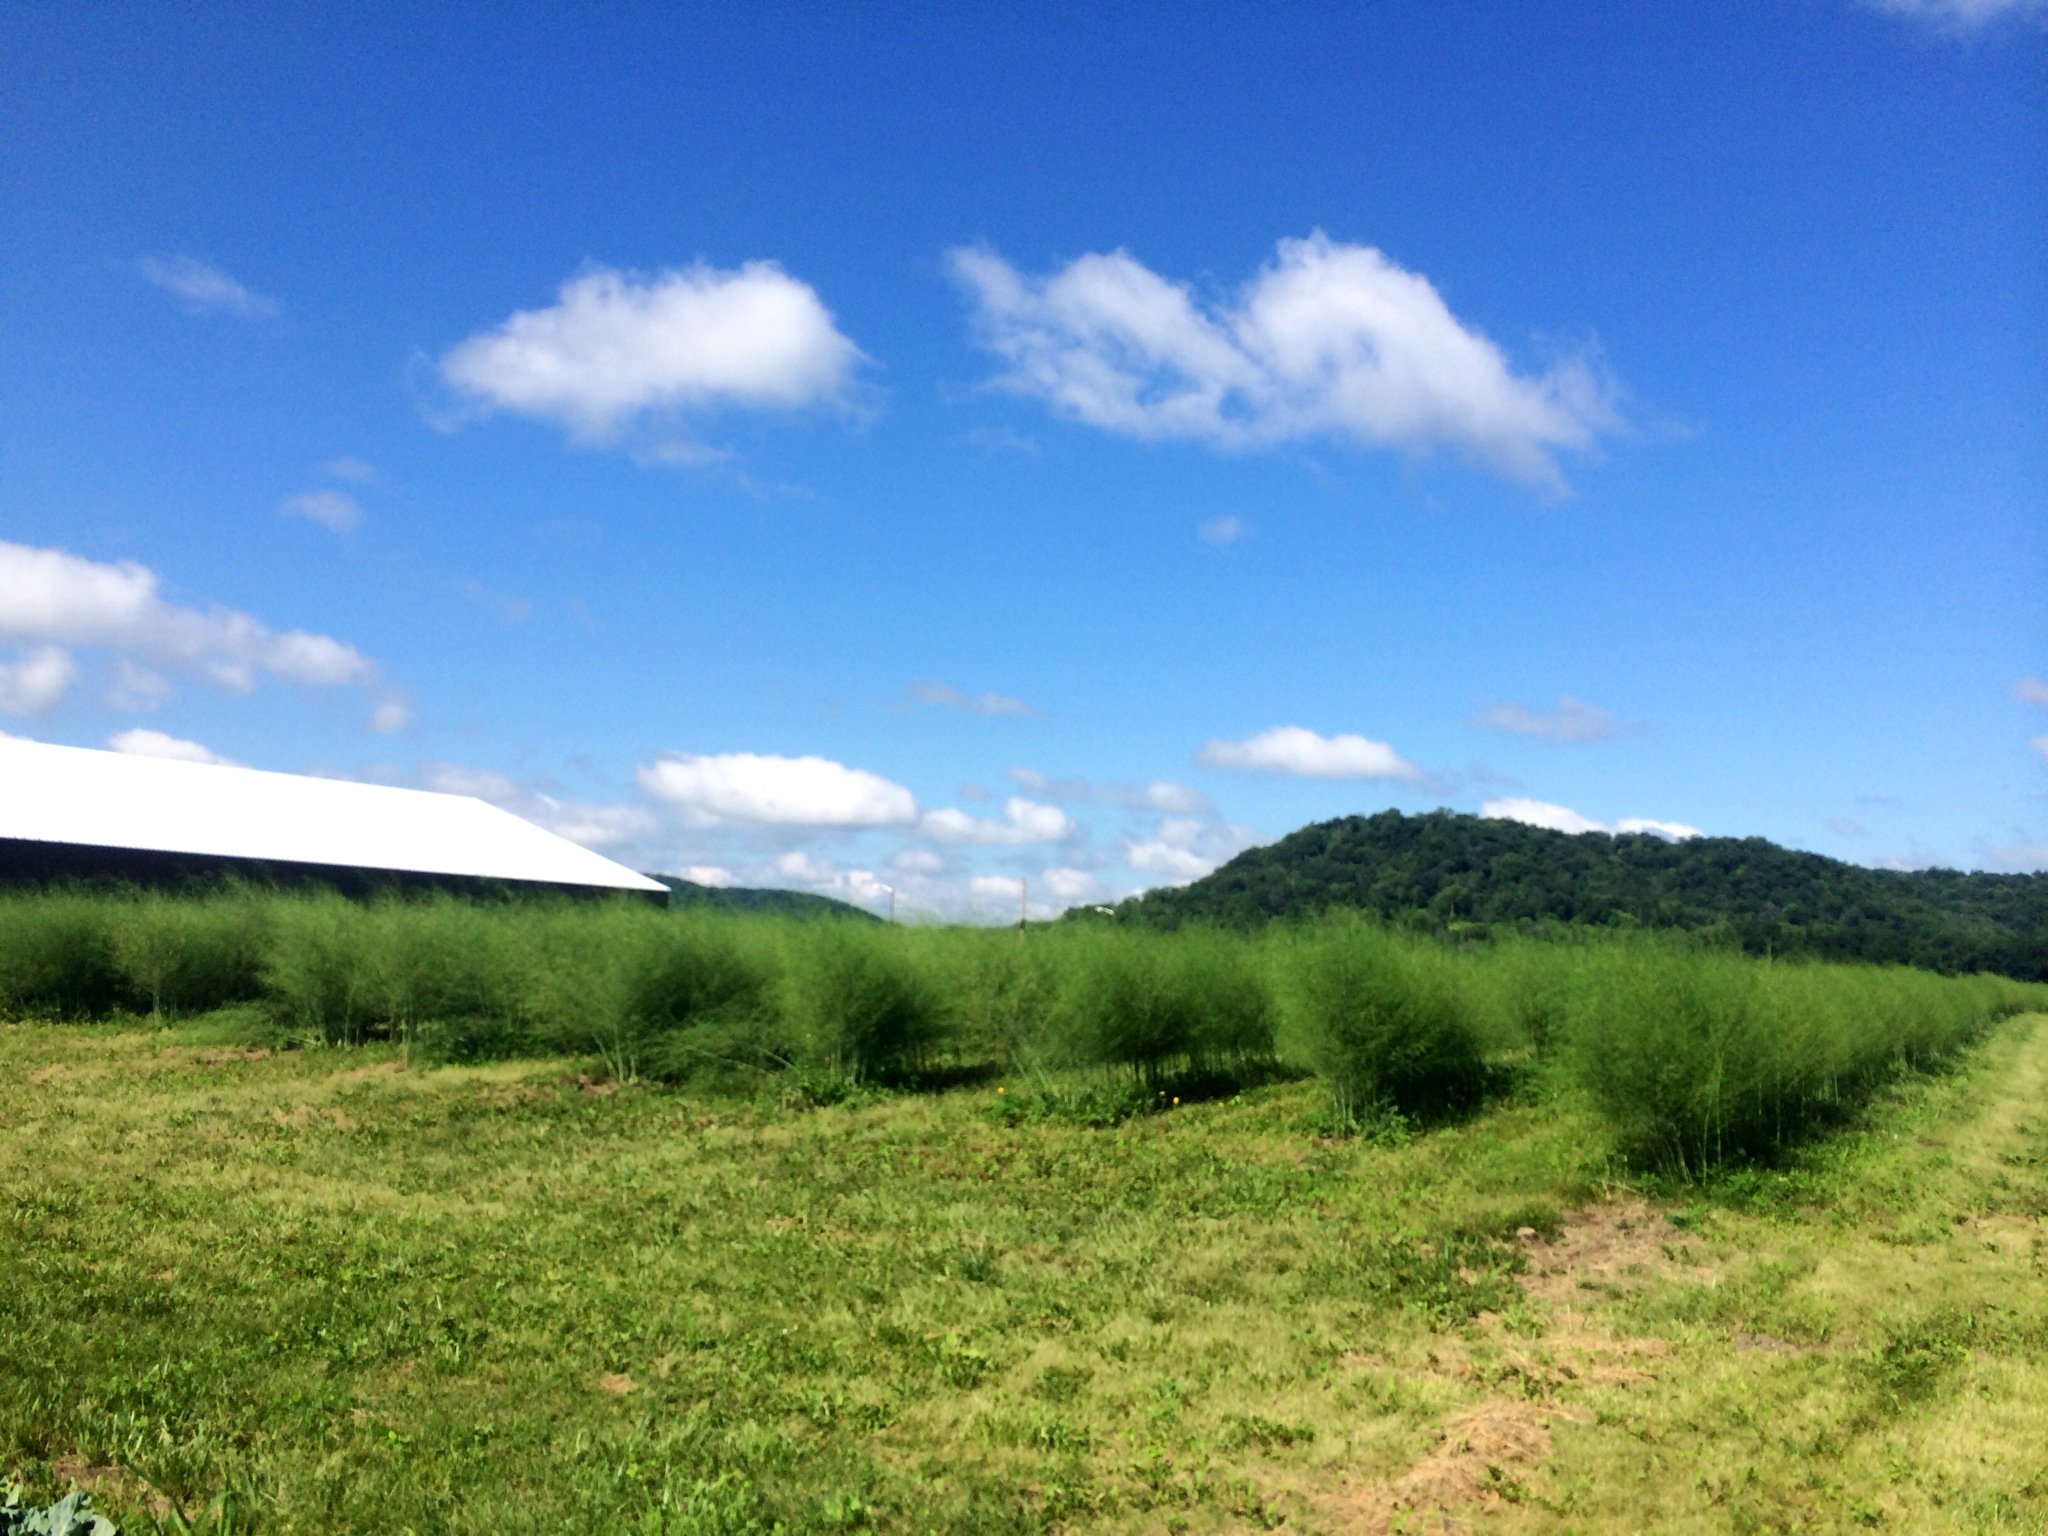
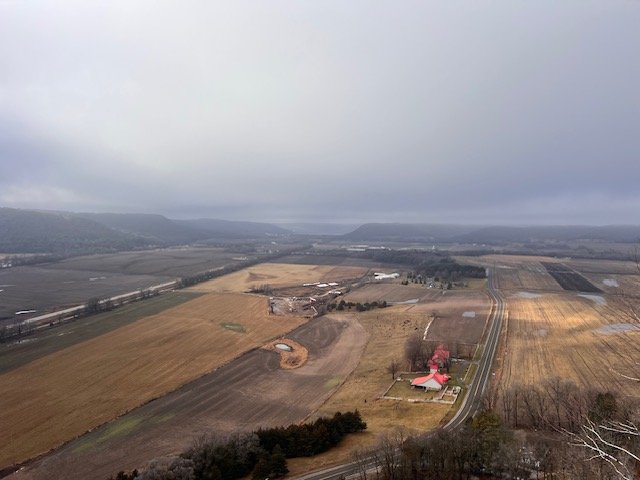
Featherstone and Hoch Orchard
We are very excited, as the apples bloom this spring, to be caring for this land and continuing the legacy of Hoch Orchard. Read about our partnership with Hoch, and what 2025 will look like for the orchard under Featherstone’s care.
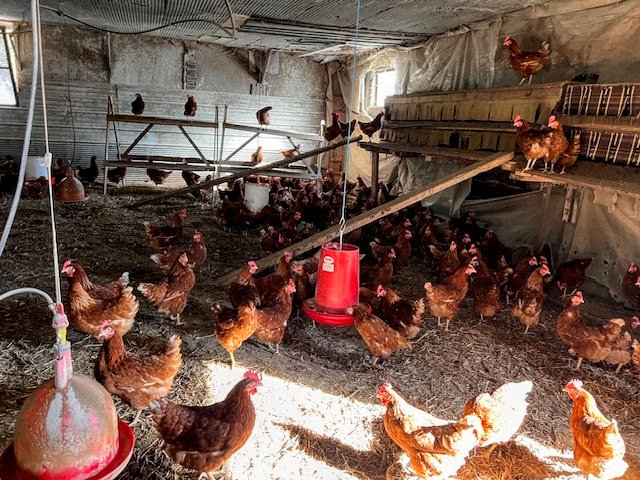
CSA Egg Shares: Meet the Hens
Eggs seem to be having a moment, so this month Farmer Abby and I visited our egg partners to meet the hens and the people who care for them. We drove down to Stateline Farms near Cresco, IA to check out the chickens and see the whole operation.
2024 CSA End Of Season Report
Jack writes his thoughts about the 2024 CSA season here at Featherstone Farm, including challenges, successes, and things to expect to see in the coming year!
Jack’s Final Newsletter- A reflection and grateful look into the future.
“Certainly I will bring one super power from my life at Featherstone Farm into my life afterward; the power of gratitude.”
Exciting Changes For 2025 and Beyond!
In this blog post, Jack writes about new, big, and exciting changes coming in 2025!
The End Of Persephone Period, Brighter Days Ahead!
Greetings CSA Members! The end of January can feel like the coldest, most difficult time of winter. With the holidays over and spring planting dates still months away, it can seem like winter will never end. But it helps me to remember that at the time of the solstice, in mid-December, the days started getting longer. Each day we gain a couple minutes of sunlight!
Post New Years, Musings Around The Farm.
Nathan writes about what’s going on around the farm in the New Year!
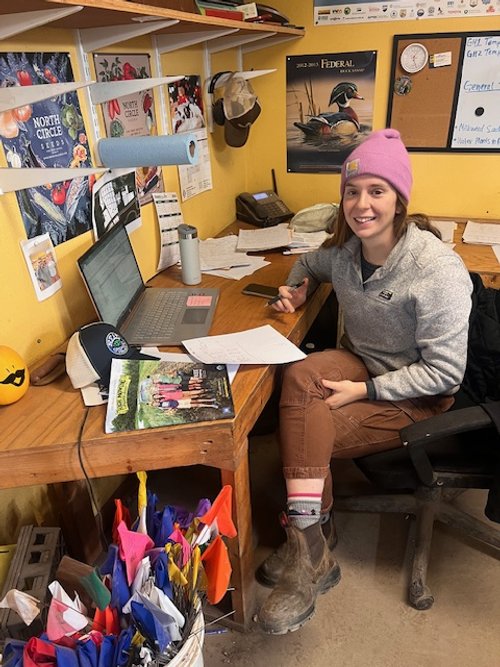
How does Featherstone Farm plan for the next year? A look into what makes a season!
Crop planning is a big process that involves input from the entire farm team. We are so lucky to have such a knowledgeable and experienced group to help us as we really dig into the 2025 plan
Featherstone Farm’s own Production Coordinator, Abby, details the process in which her and the team plan for the upcoming crop year!
Thanksgiving; Celebrating Thoughtfully.
I have written many, many Thanksgiving week newsletters to this community over the years.
This one will be different, for a number of reasons.
Sustainability Of Midwest Vegetable Production? Why We Choose This Path!
What is the basic point of a farm like Featherstone existing in the first place?
Jack’s blog writing is centered around answering this very question, and the importance of the existence of Featherstone Farm!

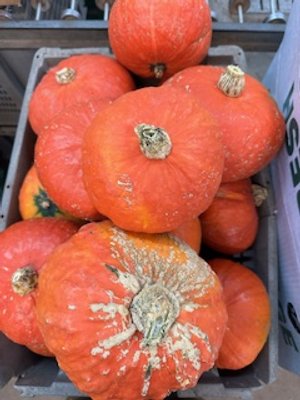
Too much of a good thing? Ideas for preserving butternut squash!
Jack shares his step by step idea for cubing, freezing and storing squash for a tasty and easy treat in the kitchen any time of year!
Hello, and welcome to the first week of the Featherstone Farm Winter CSA program!
Jack’s last BUG video. Welcome to the handoff and to your first Winter share video.