

Ideas at your finger tips!
When you have a CSA, you don’t ever have to worry about having fresh produce on hand. Knowing that you have a box each week means that there are always fresh ingredients to enjoy.
Here’s a few suggestions of how to use your CSA share.

Arugula:
Fold leaves into a potato salad.
Makes a delicious pesto.
Top your wood-fired pizza fresh out of the oven.

Cabbage:
Shred it for a wide range of crispy salads. Think beyond the mayo for your dressing options.
Loves being part of a stir fry.
Chop and add it to a minestrone soup.
This savoy cabbage stir fry with pork tenderloin and kohlrabi is a winner. This recipe is found in our 2024 CSA summer collection
Place chopped savoy cabbage in a wide skillet. Add a little oil and water to steam. Nestle frozen dumplings or potstickers into the cabbage. Toss with soy sauce for a complete meal.
A Japanese style egg pancake.
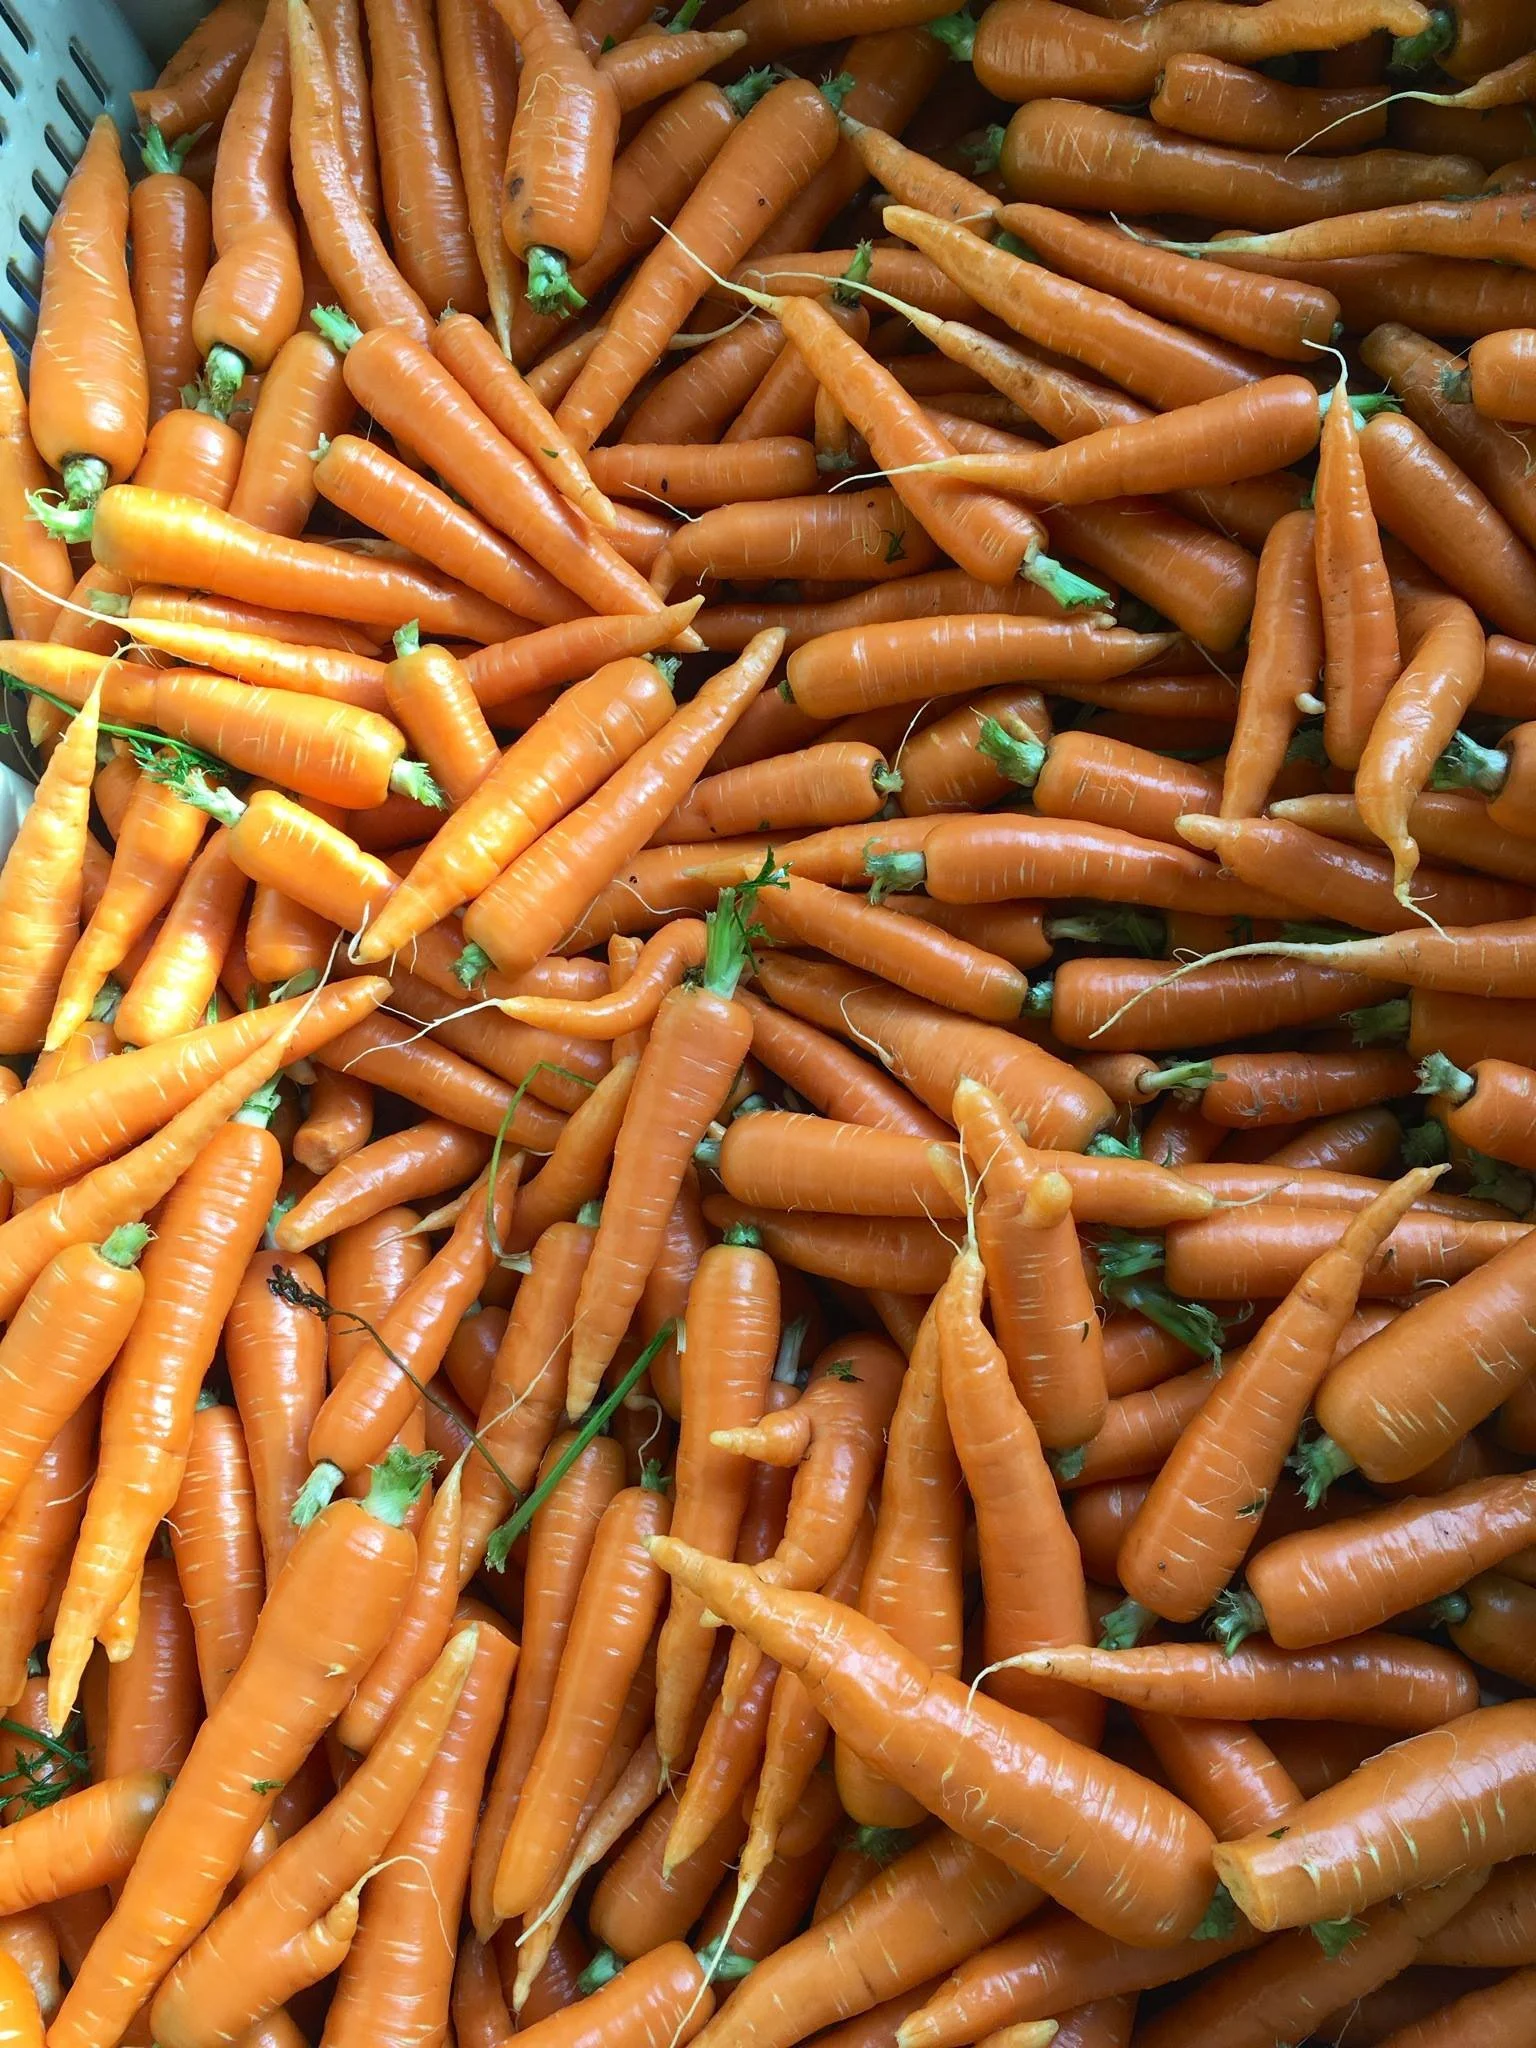
Carrots:
Chop, boil, and then mash with a little butter.
Roasted in the oven or on the grill. If small, try roasting them whole.
Shred to make a summer salad.

Celeriac:
Combine with potatoes for a potato salad or mashed.
Shred finely and cook like potato hashbrowns.
Be sure to peel the outside–paring knife works best.
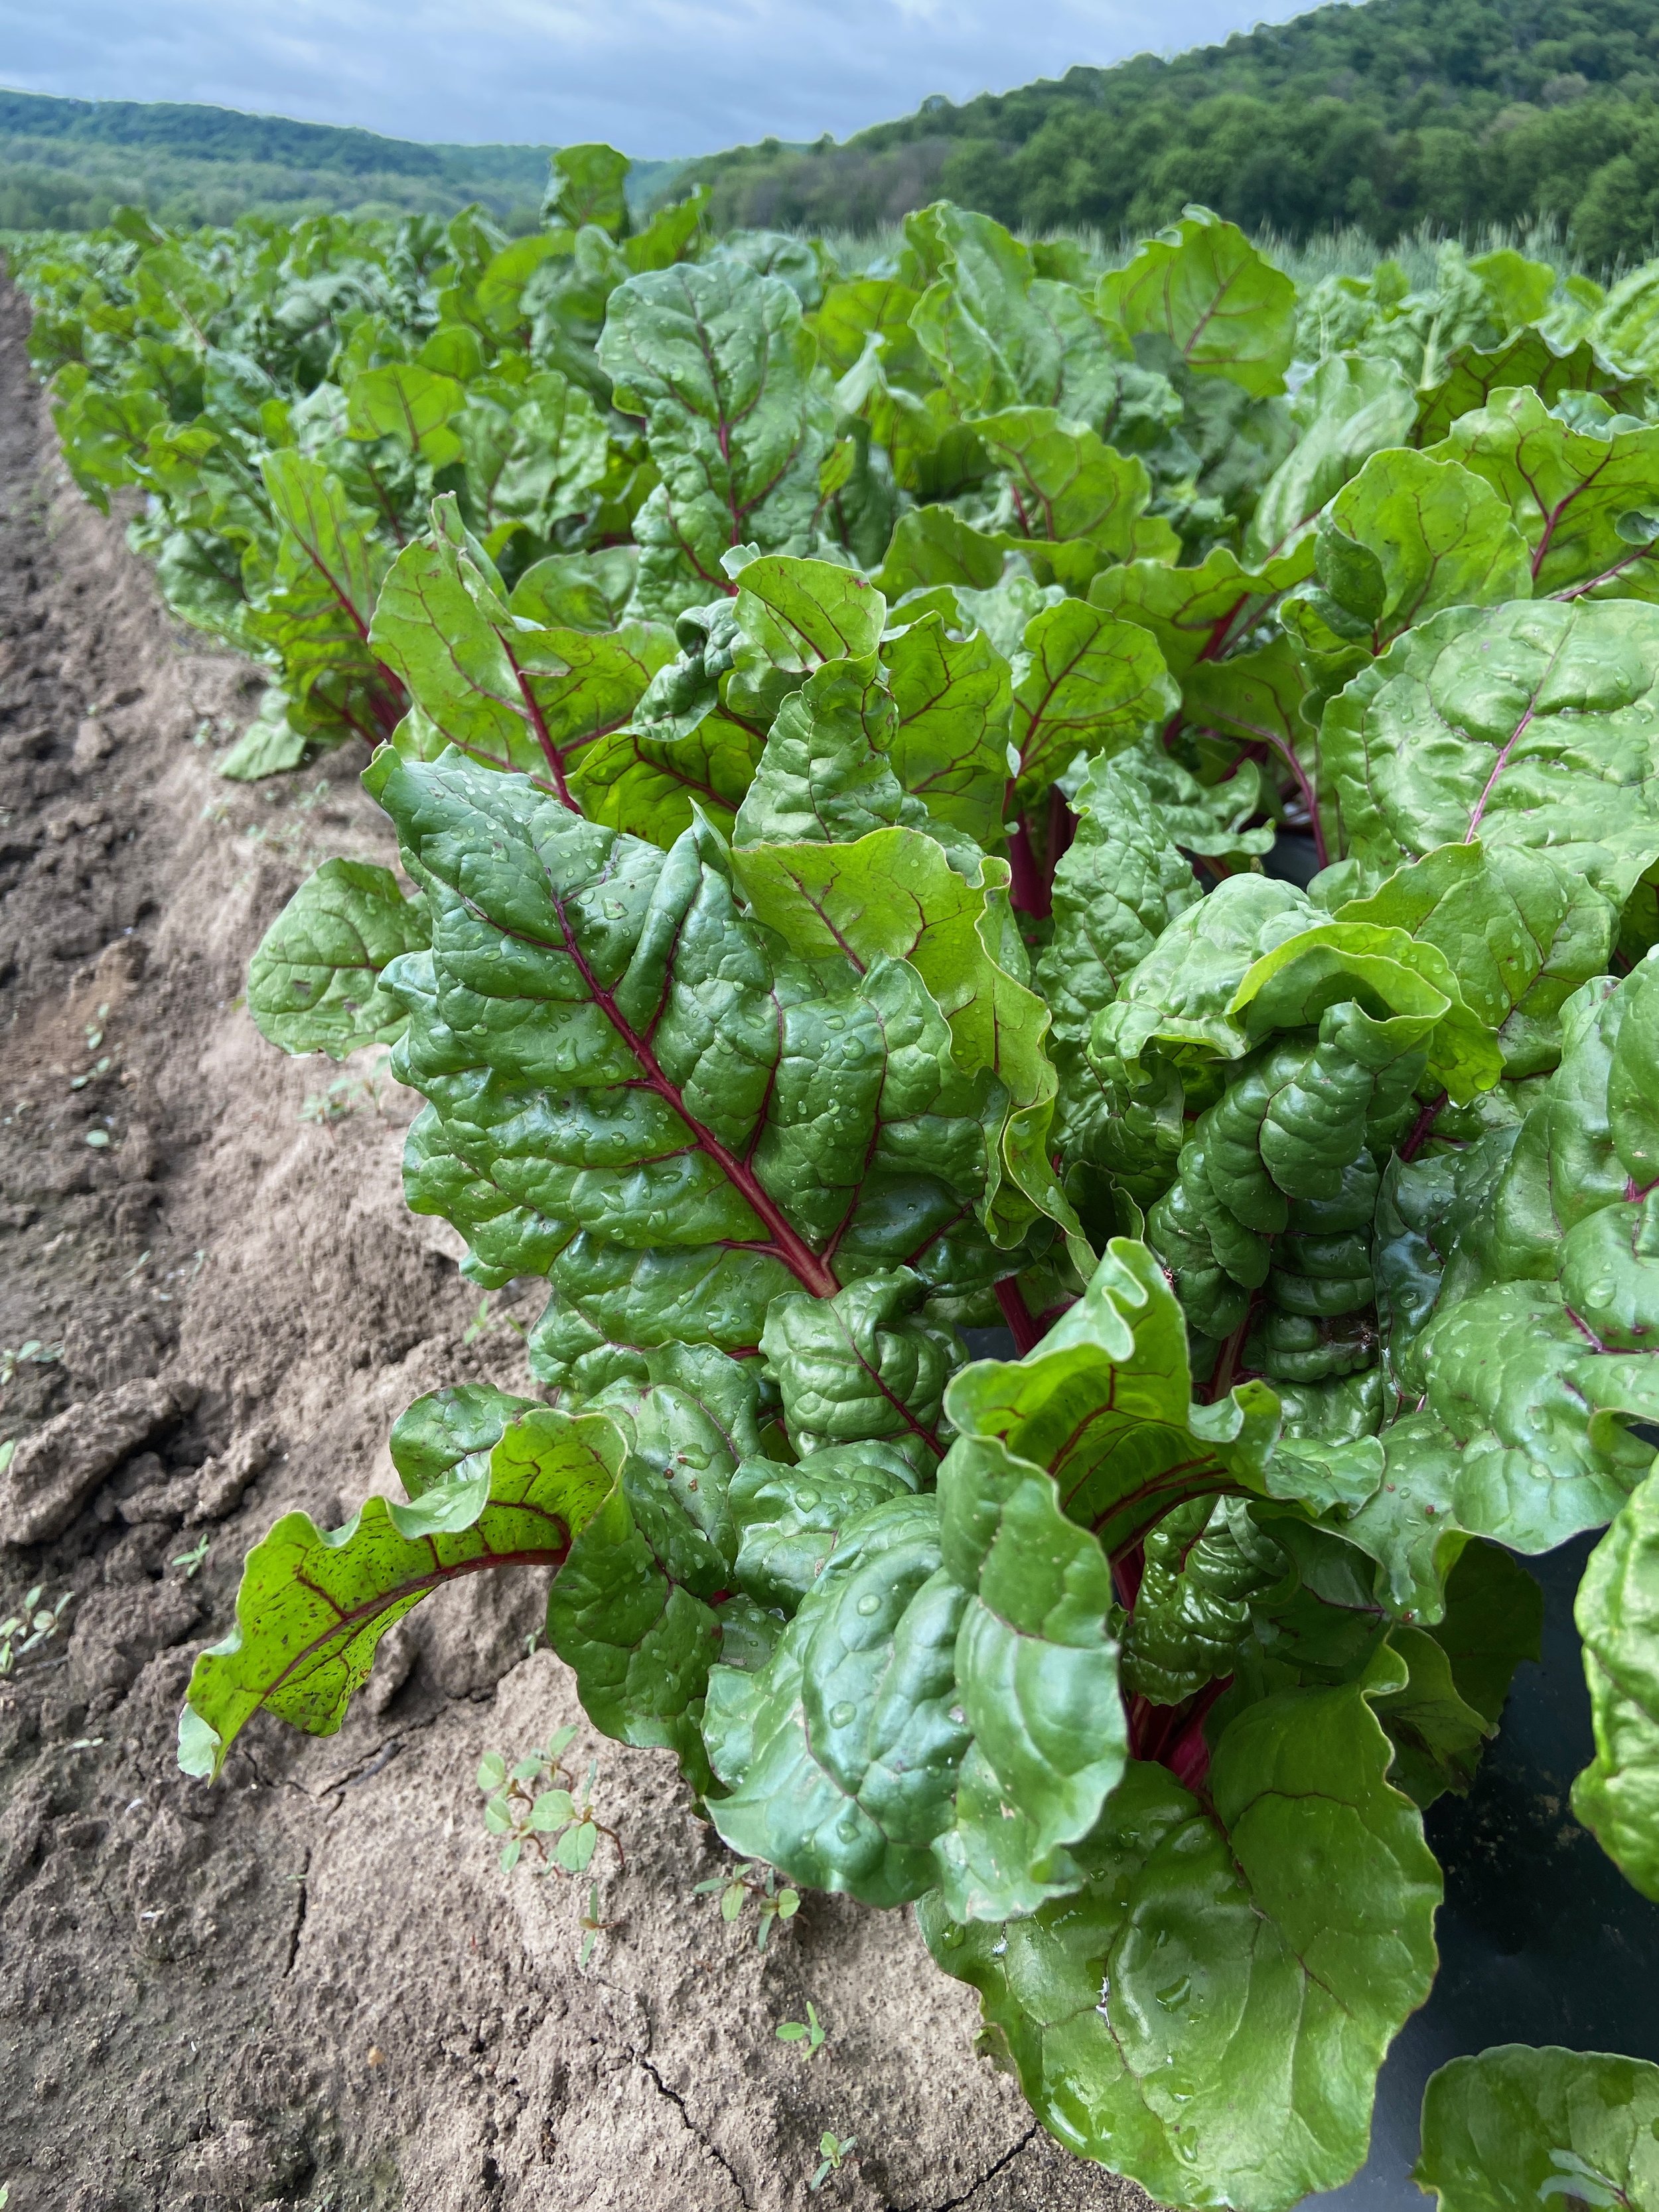
Chard:
Separate the leaves from the stems. Chop. Sautee the stems in butter or oil. Add the leaves. Add beaten eggs for a quick dinner.
Cook the chard in butter or oil. Combine with pantry ingredients for a bean salad, tuna salad, or pasta salad.

Collard Greens:
Saute with garlic and oil. (Remove the stems.)
Cook some bacon in a pan, remove the bacon, and then cook the greens in the bacon fat until tender.
Add to a chicken or veggie soup.

Green Beans and Purple Beans:
Great for canning and pickling.
Excellent raw in a salad or with a dip.
Cook them by steaming, sautéing or deep frying.
Boil for four to five minutes. Drain and drizzle with hazelnut oil, olive oil or sunflower seed oil and some coarse salt.
Garlic Sautéed Green Beans
Ingredients:
1 pound fresh green beans, trimmed
2 tablespoons olive oil
3 cloves garlic, minced
1/2 teaspoon red pepper flakes (optional, for heat)
Salt and pepper, to taste
1 tablespoon lemon juice or balsamic vinegar (optional)
1/4 cup slivered almonds or toasted sesame seeds (optional, for garnish)
Instructions:
Prepare the Green Beans:
Trim the ends off the green beans and wash them thoroughly.
Blanch the Green Beans (optional for a more vibrant color and tender texture):
Bring a large pot of water to a boil and add a pinch of salt.
Add the green beans and cook for 2-3 minutes until they are bright green and slightly tender.
Drain the beans and immediately transfer them to a bowl of ice water to stop the cooking process. Drain again and set aside.
Sauté the Garlic:
In a large skillet, heat the olive oil over medium heat.
Add the minced garlic and red pepper flakes (if using). Sauté for about 30 seconds to 1 minute until the garlic is fragrant but not browned.
Cook the Green Beans:
Add the green beans to the skillet.
Sauté, stirring frequently, for about 5-7 minutes until the beans are tender but still crisp. If you blanched the beans, this time may be reduced to 3-4 minutes.
Season and Finish:
Season the green beans with salt and pepper to taste.
If desired, add a splash of lemon juice or balsamic vinegar for extra flavor.
Toss to combine and heat through.
Garnish and Serve:
If using, sprinkle the sautéed green beans with slivered almonds or toasted sesame seeds before serving.

Beets:
Three go-to ways to enjoy is boil, steam or roast.
Make slices instead of chunks to decrease cooking time.
They roast up beautifully on the grill. Toss your cut beets with oil and seasoning and wrap them in foil. Open the packet and check tenderness with a fork.
Cook the greens the same way you do chard leaves.
Fresh Beet Juice
Ingredients:
2 medium-sized beets, peeled and chopped
2 medium carrots, peeled and chopped
1 apple, cored and chopped
1-inch piece of ginger, peeled
1 lemon, peeled
Water (optional, to thin out the juice if desired)
Instructions:
Prepare the Ingredients:
Peel and chop the beets, carrots, apple, and ginger.
Peel the lemon and separate it into sections.
Juicing:
If you have a juicer, process the beets, carrots, apple, ginger, and lemon through the juicer according to the manufacturer’s instructions.
If you don’t have a juicer, you can use a blender. Add the beets, carrots, apple, ginger, and lemon to the blender. Blend on high until smooth. You might need to add a little water to help the blending process.
Strain the Juice (if using a blender):
Place a fine mesh strainer or cheesecloth over a large bowl or pitcher.
Pour the blended mixture through the strainer or cheesecloth to remove the pulp. Use a spoon to press the pulp and extract as much juice as possible.
Serve:
Pour the fresh beet juice into glasses and enjoy immediately.
Optional Additions:
You can add a pinch of salt or a teaspoon of honey for extra flavor if desired.
Tips:
Beets can stain, so be careful with your clothing and surfaces when preparing them.
Adjust the ingredients to your taste. If you prefer a sweeter juice, add more apple or carrot.
Fresh beet juice is best consumed immediately to retain its nutrients, but you can store it in an airtight container in the refrigerator for up to 24 hours.

Bok Choy: Enjoy the stems as a dipper for your favorite hummus or sour cream dip.
Cut the leaves thinly and toss with cabbage for a crispy slaw.
Stir fry for three to five minutes. Drizzle with soy sauce and a splash of sesame oil.

Broccoli:
Eat it raw with dips.
Roast it and top it with cheese.
Stir it into pasta (either hot or as a salad).
Steam it (stove top or microwave).
Toss with oil, wrap in foil, and cook it on the grill.
Loves stir fry.

Cabbage:
Shred it for a wide range of crispy salads. Think beyond the mayo for your dressing options.
Loves being part of a stir fry.
Chop and add it to a minestrone soup.
Try making Okonomiyaki–A Japanese style egg pancake.
Easy Homemade Sauerkraut
Ingredients:
1 medium head of green cabbage (about 2 pounds)
1-2 tablespoons kosher salt or sea salt (non-iodized)
1 tablespoon caraway seeds (optional, for traditional flavor)
1-2 carrots, grated (optional, for added flavor and color)
Equipment:
Large mixing bowl
Sharp knife or mandoline
Mason jars or fermentation crock
Small weight (like a smaller jar or a clean stone) to keep the cabbage submerged
Instructions:
Prepare the Cabbage:
Remove the outer leaves of the cabbage and set them aside.
Cut the cabbage into quarters and remove the core.
Thinly slice the cabbage into shreds using a sharp knife or mandoline.
Mix with Salt:
Place the shredded cabbage in a large mixing bowl.
Sprinkle the cabbage with salt.
If using, add the caraway seeds and grated carrots.
Use your hands to massage the salt into the cabbage. Squeeze and knead the cabbage for about 5-10 minutes until it becomes limp and releases its juices. The cabbage should be quite wet by the end of this process.
Pack the Cabbage:
Pack the cabbage tightly into a clean Mason jar or fermentation crock. Use a tamper or your fist to press down the cabbage firmly. This will help release more liquid and remove air pockets.
Pour any liquid released from the cabbage in the bowl into the jar. The liquid should cover the cabbage completely. If there's not enough liquid, you can add a bit of salted water (1 teaspoon of salt dissolved in 1 cup of water).
Add the Weight:
Place one of the reserved outer cabbage leaves on top of the shredded cabbage in the jar to help keep it submerged.
Use a small weight (a smaller jar filled with water, a clean stone, or a fermentation weight) to keep the cabbage submerged under the brine.
Cover and Ferment:
Cover the jar with a cloth, cheesecloth, or a loose lid to allow gases to escape while keeping dust and bugs out.
Place the jar in a cool, dark place (60-70°F is ideal) to ferment for 1-4 weeks. The longer it ferments, the tangier it will become.
Check the sauerkraut every few days to ensure the cabbage remains submerged in the brine. Press it down if needed.
Taste and Store:
Start tasting the sauerkraut after 1 week. When it reaches your desired level of tanginess, remove the weight and cover the jar with a tight-fitting lid.
Store the sauerkraut in the refrigerator, where it will keep for several months.
Tips:
Keep It Submerged: Keeping the cabbage submerged in the brine is crucial to prevent mold and ensure proper fermentation. If mold appears, remove it promptly, but if the cabbage itself has not remained submerged, it should be discarded.
Flavor Variations: Experiment with adding other vegetables (like beets, radishes, or onions) or spices (like juniper berries, bay leaves, or dill seeds) for different flavors.

Carrots:
Chop, boil, and then mash with a little butter.
Roasted in the oven or on the grill. If small, try roasting them whole.
Shred to make a summer salad.

Celeriac:
Combine with potatoes for a potato salad or mashed.
Shred finely and cook like potato hashbrowns.
Be sure to peel the outside–paring knife works best.

Chard:
Separate the leaves from the stems. Chop. Sautee the stems in butter or oil. Add the leaves. Add beaten eggs for a quick dinner.
Cook the chard in butter or oil. Combine with pantry ingredients for a bean salad, tuna salad, or pasta salad.

Cilantro:
Cilantro is a versatile herb that can be used in a variety of dishes to add fresh, bright flavors. Here are some ways to use cilantro:
1. Garnish:
Tacos and Burritos: Sprinkle chopped cilantro over tacos, burritos, and enchiladas.
Soups and Stews: Add cilantro to soups like chicken tortilla soup or stews like curry just before serving.
2. Salads:
Green Salads: Mix cilantro leaves with other greens in salads for a fresh twist.
Pasta and Grain Salads: Add chopped cilantro to pasta salads or grain salads like quinoa or couscous.
3. Sauces and Dips:
Pesto: Make cilantro pesto as a variation on traditional basil pesto.
Salsa: Mix cilantro into salsa for a bright, fresh flavor.
Guacamole: Add chopped cilantro to guacamole for added freshness.
4. Marinades and Dressings:
Marinades: Use cilantro in marinades for chicken, fish, or shrimp.
Dressings: Blend cilantro into vinaigrettes and dressings for salads.
5. Rice and Grains:
Cilantro Lime Rice: Stir chopped cilantro and lime juice into cooked rice for a flavorful side dish.
Quinoa: Mix cilantro into cooked quinoa with a squeeze of lime for added zest.
6. Main Dishes:
Curries: Use cilantro as a finishing touch in Indian and Thai curries.
Stir-Fries: Add cilantro to stir-fries just before serving.
Grilled Meats: Garnish grilled meats like chicken, beef, or pork with chopped cilantro.
7. Beverages:
Smoothies: Add a small handful of cilantro to green smoothies for a unique flavor.
Infused Water: Add cilantro to water with slices of cucumber and lemon for a refreshing drink.
8. Desserts:
Sorbet: Use cilantro in fruit sorbets for a surprising twist.
Chutneys: Make sweet cilantro chutneys to accompany desserts.
Tips for Using Cilantro:
Freshness: Use cilantro fresh for the best flavor. Add it to hot dishes at the end of cooking to preserve its bright taste.
Storing: Keep cilantro fresh by storing it in a glass of water in the refrigerator, covered loosely with a plastic bag, or wrap the stems in a damp paper towel and place in a plastic bag in the fridge.
Substitute: If you find cilantro's flavor too strong, you can substitute it with fresh parsley in many recipes.

Collard Greens:
Saute with garlic and oil. (Remove the stems.)
Cook some bacon in a pan, remove the bacon, and then cook the greens in the bacon fat until tender.
Add to a chicken or veggie soup.

Corn:
Cut fresh from the cob to make a summer salad. Toss with peppers, fresh herbs, and cherry tomatoes and your favorite dressing.
Roast on the grill.
Roasted Corn on the Cob
Ingredients:
4 ears of fresh corn on the cob, husked and cleaned
2 tablespoons olive oil or melted butter
1 teaspoon smoked paprika or chili powder (optional, for extra flavor)
Salt and freshly ground black pepper, to taste
Fresh herbs like parsley or cilantro, chopped (optional, for garnish)
Lime wedges or lemon wedges (optional, for serving)
Instructions:
Preheat the Oven:
Preheat your oven to 400°F (200°C).
Prepare the Corn:
Husk the corn and remove the silk.
Rinse the corn under cold water and pat dry with a paper towel.
Season the Corn:
Brush the corn with olive oil or melted butter.
Sprinkle with salt, pepper, and smoked paprika or chili powder if using.
Rub the seasonings into the corn to coat it evenly.
Roast the Corn:
Place the corn directly on the oven rack or on a baking sheet.
Roast for 20-25 minutes, turning the corn halfway through, until the corn is tender and slightly charred.
Serve:
Remove the corn from the oven and let it cool slightly.
Garnish with fresh herbs, if desired.
Serve with lime or lemon wedges for an extra burst of flavor.

Cucumbers:
Marinate in rice wine vinegar. Add a pinch of sugar, salt, and pepper. Refrigerate.
Add slices to your water for a refreshing treat.
Use as a dipper for hummus.
Cucumber Salad
Ingredients:
2 large cucumbers, thinly sliced
1/2 red onion, thinly sliced
1/4 cup rice vinegar (or apple cider vinegar)
2 tablespoons sugar (or honey)
1 tablespoon sesame oil
1 teaspoon soy sauce (optional)
1 teaspoon salt
1/4 teaspoon black pepper
1 tablespoon sesame seeds (optional)
Fresh cilantro or dill, chopped (optional, for garnish)
Instructions:
Prepare the Cucumbers:
Wash the cucumbers and thinly slice them using a knife or mandoline.
Place the cucumber slices in a large bowl.
Prepare the Onion:
Thinly slice the red onion and add it to the bowl with the cucumbers.
Make the Dressing:
In a small bowl, whisk together the rice vinegar, sugar, sesame oil, soy sauce (if using), salt, and pepper until the sugar is dissolved.
Combine and Toss:
Pour the dressing over the cucumber and onion slices.
Toss everything together until the cucumbers and onions are well-coated with the dressing.
Chill and Marinate:
Cover the bowl and refrigerate the salad for at least 30 minutes to let the flavors meld. You can also let it marinate for a few hours for a stronger flavor.
Garnish and Serve:
Just before serving, sprinkle the salad with sesame seeds and chopped fresh cilantro or dill, if desired.
Tips:
Variations: You can add thinly sliced radishes, carrots, or bell peppers for extra color and crunch.
Spice: For a spicy kick, add a sliced chili pepper or a pinch of red pepper flakes to the dressing.
Creamy Version: For a creamy cucumber salad, replace the vinegar dressing with a mixture of Greek yogurt, lemon juice, garlic, and fresh herbs.

Dill:
Dill is a versatile herb that adds a fresh, slightly tangy flavor to a variety of dishes. Here are some ideas for using dill in your cooking:
Salads and Dressings:
Potato Salad: Add chopped dill to potato salad for a fresh twist.
Green Salads: Sprinkle fresh dill over green salads.
Salad Dressings: Mix dill into yogurt-based or vinaigrette dressings.
Sauces and Dips:
Tzatziki: Make a classic Greek tzatziki sauce with dill, Greek yogurt, cucumber, garlic, and lemon juice.
Dill Sauce: Create a creamy dill sauce for fish or chicken by mixing dill with sour cream, mayonnaise, lemon juice, and garlic.
Dips: Add dill to hummus, ranch dip, or sour cream for a flavorful dip.
Soups and Stews:
Borscht: Add dill to beet soup (borscht) for authentic flavor.
Chicken Soup: Enhance chicken soup with a handful of fresh dill just before serving.
Creamy Soups: Stir dill into creamy soups like potato or cucumber soup.
Main Dishes:
Fish: Dill pairs wonderfully with fish. Use it in marinades, or sprinkle it over grilled or baked fish.
Chicken: Add dill to chicken marinades, or mix it into a chicken salad.
Egg Dishes: Sprinkle dill over scrambled eggs, omelets, or frittatas.
Vegetables and Side Dishes:
Roasted Vegetables: Toss roasted vegetables with dill and lemon juice.
Cucumber Salad: Make a classic cucumber and dill salad with sliced cucumbers, dill, vinegar, and a touch of sugar.
Pickles: Use dill to make homemade pickles.
Breads and Crackers:
Herb Bread: Add dill to homemade bread dough.
Crackers: Mix dill into cracker dough for a flavorful snack.
Snacks:
Dill Butter: Mix dill with softened butter and spread it on bread or use it to top cooked vegetables.
Dill Cheese: Add chopped dill to cream cheese for a tasty spread.

Eggplant:
Grill–cut into ½ inch slices, brush with olive oil, sprinkle with salt. Place on a grill pan so that they don’t fall through the slats as they soften. Add more oil if the slices look dry.
Slice eggplant. Slice a large tomato. Alternate slices in a baking dish. Drizzle with your favorite oil. Cover and bake at 375 until very soft. (Also works on the grill wrapped in foil)
Stir-Fried Asian Eggplant
Ingredients:
2-3 Asian eggplants (Japanese or Chinese variety), sliced into bite-sized pieces
2 tablespoons vegetable oil
2-3 cloves garlic, minced
1-inch piece of ginger, grated
1-2 tablespoons soy sauce
1 tablespoon oyster sauce (optional)
1 tablespoon rice vinegar
1 tablespoon sugar
1 teaspoon sesame oil
1-2 green onions, chopped
1 teaspoon toasted sesame seeds (optional)
Red pepper flakes or fresh chili (optional, for heat)
Fresh cilantro (optional, for garnish)
Instructions:
Prepare the Eggplants: Cut the eggplants into bite-sized pieces. If the eggplants are particularly large, you may want to salt them and let them sit for about 15-20 minutes to draw out any bitterness. Rinse and pat dry.
Make the Sauce: In a small bowl, mix together the soy sauce, oyster sauce, rice vinegar, sugar, and sesame oil. Set aside.
Stir-Fry the Eggplant:
Heat the vegetable oil in a large pan or wok over medium-high heat.
Add the minced garlic and grated ginger, and stir-fry for about 30 seconds until fragrant.
Add the eggplant pieces and stir-fry for about 5-7 minutes, until they start to become tender and slightly browned.
Add the Sauce:
Pour the sauce mixture over the eggplant and stir well to coat all the pieces.
Continue to cook for another 2-3 minutes until the eggplant is fully tender and the sauce has thickened slightly.
Finish and Serve:
Add chopped green onions and stir well.
If you like, sprinkle with toasted sesame seeds and some red pepper flakes or fresh chili for a bit of heat.
Garnish with fresh cilantro, if using.
Serve: Serve the stir-fried eggplant over steamed rice or noodles.

Fennel:
Remove the fronds and slice or dice the bulb. Use the fronds as a garnish on dishes. Can also freeze the fronds to add to winter stocks.
Shred fennel and an apple. Mix with mayonnaise.

Kale:
Cook with lemon and garlic for a quick side dish.
Add to cooked pasta dishes.
Massage with lemon juice and olive oil for a tender salad.
Make kale chips in the oven!
Sautéed Green Kale
Ingredients:
1 bunch of fresh kale
2 tablespoons olive oil
3 cloves garlic, minced
1 small onion, finely chopped (optional)
1/2 teaspoon red pepper flakes (optional, for a bit of heat)
Salt and pepper, to taste
1-2 tablespoons lemon juice or balsamic vinegar (optional, for extra flavor)
Instructions:
Prepare the Kale:
Wash the kale thoroughly under cold water to remove any dirt.
Remove the tough stems and chop the kale leaves into bite-sized pieces.
Heat the Oil:
In a large skillet or pan, heat the olive oil over medium heat.
Cook the Aromatics:
Add the minced garlic (and chopped onion if using) to the skillet.
Sauté for 2-3 minutes until the garlic is fragrant and the onion is translucent.
Add the Kale:
Add the chopped kale to the skillet.
If using red pepper flakes, add them now.
Sauté the kale, stirring frequently, for about 5-7 minutes until it is wilted and tender. You can cover the skillet with a lid for a few minutes to help the kale cook down more quickly.
Season and Finish:
Season with salt and pepper to taste.
If you like, drizzle with lemon juice or balsamic vinegar for added flavor. Stir well to combine.
Serve:
Serve the sautéed kale hot as a side dish. It's great with grilled meats, roasted vegetables, or as a topping for grains and salads.
Tips:
You can add other ingredients like chopped tomatoes, mushrooms, or bell peppers for more variety.
For a heartier dish, consider adding cooked beans or lentils to the kale.

Kohlrabi:
Did you know that its nickname is the cabbage-turnip? It’s a member of the cabbage family.
Peel it and cut it into sticks for snacking. Delicious with hummus or sour cream dips.
Peel and cut into sticks. Put it in a microwave safe container with a lid. Add just a splash of water and steam in the microwave for three to five minutes (or until desired tenderness).
Warm oil or melt butter in a skillet. Sautee, toss with your favorite salt or herb, and enjoy.
Add to coleslaw or other shredded raw vegetable salads.

Mixed Greens:
Try a pesto!
Top a pizza.
Use the leaves as a wrap with sliced meats, cheeses or a tuna salad.

Green or Red Onions with greens:
Milder in flavor than the winter storage variety.
Roast them whole on the grill.
Add slices to a focaccia bread.
Use the greens to garnish dips instead of scallions or chives.
Lovely in scrambled eggs or an omelet.
Here are some popular methods for using onions:
Raw:
Salads: Thinly slice onions and add them to salads for a sharp, crunchy bite.
Salsas: Dice onions to include in fresh salsas or guacamole.
Sandwiches & Burgers: Add raw onion slices to sandwiches and burgers for added crunch and flavor.
Sautéed:
Base for Dishes: Sauté onions in oil or butter as a base for soups, stews, and sauces.
Side Dish: Sauté onions with a touch of oil and seasonings as a tasty side dish.
Caramelized:
Toppings: Use caramelized onions as a topping for pizzas, burgers, or steaks.
In Dishes: Stir caramelized onions into dishes like risotto, pasta, or casseroles for a sweet, rich flavor.
Roasted:
Roasted Vegetables: Toss onion wedges with other vegetables and roast them for a flavorful side dish.
Roasted Meats: Place onion wedges around meat in the roasting pan to infuse the meat with flavor.
Grilled:
Grilled Skewers: Thread onion slices onto skewers with other vegetables and grill.
Grilled Sandwiches: Add grilled onions to sandwiches or panini for extra flavor.
Pickled:
Condiment: Quick-pickle onions with vinegar, sugar, and spices for a tangy condiment that can be used on sandwiches, tacos, or salads.
Garnish: Use pickled onions as a garnish for various dishes.
In Soups and Stews:
Flavor Base: Add chopped onions to soups and stews for depth of flavor.
Blended Soups: Cook and blend onions into creamy soups for a smooth texture.
In Baking:
Savory Breads: Incorporate finely chopped onions into savory bread recipes or focaccia.
Tarts and Quiches: Use caramelized onions in tarts, quiches, or savory pies.
Tips:
Preventing Tears: To reduce tears while chopping onions, use a sharp knife, chill the onions before cutting, or cut them under running water.
Storage: Store whole onions in a cool, dry place. Once cut, onions should be refrigerated in an airtight container and used within a few days.

Peppers:
Roast whole peppers on the grill or in the oven.
Make a puree from roasted peppers.
Slice them up to have them ready as a quick snack with hummus or other dips.
Roasted Red Pepper Dip
Ingredients:
2 large red bell peppers (or a 12-ounce jar of roasted red peppers, drained)
1 cup Greek yogurt or sour cream
1/4 cup mayonnaise
2 cloves garlic, minced
1 tablespoon lemon juice
1/2 teaspoon smoked paprika (optional)
1/2 teaspoon ground cumin
Salt and pepper, to taste
Fresh parsley or cilantro, chopped (for garnish)
Instructions:
Roast the Peppers (if using fresh peppers):
Preheat your oven to 450°F (230°C).
Place the red bell peppers on a baking sheet lined with aluminum foil.
Roast the peppers in the oven for 20-25 minutes, turning occasionally, until the skins are blackened and blistered.
Remove the peppers from the oven and place them in a bowl. Cover with plastic wrap or a plate to let them steam for about 10 minutes. This will make it easier to peel the skins off.
Once cooled, peel off the skins, remove the stems and seeds, and roughly chop the peppers.
Blend the Ingredients:
In a food processor or blender, combine the roasted red peppers, Greek yogurt (or sour cream), mayonnaise, minced garlic, lemon juice, smoked paprika, and ground cumin.
Blend until smooth and creamy.
Season:
Taste the dip and season with salt and pepper to taste.
Blend again briefly to incorporate the seasonings.
Chill and Serve:
Transfer the dip to a serving bowl and garnish with chopped fresh parsley or cilantro.
Chill in the refrigerator for at least 30 minutes to allow the flavors to meld.
Serve with fresh vegetables, crackers, pita bread, or as a spread for sandwiches and wraps.
Tips:
Spice It Up: Add a pinch of red pepper flakes or a dash of hot sauce if you like a spicier dip.
Texture Variation: For a chunkier dip, reserve a small portion of the roasted red peppers, chop them finely, and stir them into the blended dip.
Make Ahead: This dip can be made a day ahead and stored in the refrigerator. The flavors will continue to develop, making it even tastier.

Radishes:
Slice and add to Asian-style noodle dishes or stir frys.
Pickle them!
Roast with other root veggies (on the grill works great!)
Shred them into a coleslaw.

Rutabaga:
Can use them in any recipe that calls for turnips. Peel before using.
Cut into chunks, boil with potatoes, and mash with butter.

Spinach:
Fresh Spinach Dip
Ingredients:
4 cups fresh spinach leaves, chopped
1 cup Greek yogurt (plain, non-fat or low-fat)
1/2 cup light mayonnaise
1/4 cup grated Parmesan cheese (or nutritional yeast for a dairy-free option)
1-2 cloves garlic, minced
1/4 cup finely chopped onion or scallions
1/2 cup finely chopped water chestnuts (optional, for extra crunch)
1 tablespoon lemon juice (optional, for added brightness)
Salt and freshly ground black pepper, to taste
Instructions:
Prepare the Spinach:
Wash and chop the fresh spinach leaves.
In a large skillet or sauté pan, heat a small amount of olive oil over medium heat.
Add the chopped spinach to the skillet and cook, stirring frequently, until wilted (about 3-5 minutes).
Remove from heat and let it cool slightly.
Mix the Ingredients:
In a large bowl, combine the Greek yogurt, light mayonnaise, and grated Parmesan cheese (or nutritional yeast).
Add the minced garlic, chopped onion or scallions, and water chestnuts (if using).
Stir in the cooked spinach, mixing well to combine.
Season:
Add lemon juice, if desired, for extra brightness.
Season with salt and freshly ground black pepper to taste.
Mix well.
Chill:
Cover the bowl with plastic wrap or a lid and refrigerate the dip for at least 1 hour to allow the flavors to meld.
Serve:
Serve the fresh spinach dip chilled with your choice of dippers, such as whole-grain crackers, raw vegetable sticks (carrots, celery, bell peppers), or pita chips.

Tomatoes:
Antonio's Salsa Verde
16 tomatillos
Serrano Chiles to your heat preference *
Cooking Oil
1 large clove of garlic
½ tbsp Knorr Suiza Chicken Bouillon *
¼ bunch cilantro
Salt to taste
1) Remove the wrapper leaf from the outside of your tomatillos. Place tomatillos and serrano chiles in a skillet with a little oil. Cook with the lid on until they are well cooked- soft and starting to blacken.
2) Pour the tomatillos and chiles into a blender or food processor with the garlic, cilantro, chicken bouillon, and salt to taste. Blend until smooth and adjust salt as needed.
Notes:
Antonio used about 18 small serrano chiles for a fairly spicy salsa, as you see pictured. The Featherstone serranoes are quite a bit bigger and he suggests you start with only two if you’re cautious about heat or 8-10 if you like it spicy!
You can also use jalapenos in place of serranoes. Featherstone peppers tend to be very SPICY! -Antonio says he would use 10 but you may want to start with 1 or 2!
Knorr Suiza is a brand of bouillon commonly used in Mexico. You may have to adjust the amount used if you have a different brand on hand.


Turnips:
Simple Hakurei Turnip Snack
Ingredients:
1 bunch Hakurei turnips (about 6-8 small turnips)
1 tablespoon olive oil
Sea salt, to taste
Freshly ground black pepper, to taste
Optional: fresh herbs (like parsley or dill), for garnish
Optional: lemon juice or balsamic vinegar, for drizzling
Instructions:
Prepare the Turnips:
Wash the Hakurei turnips thoroughly under cold water to remove any dirt.
Trim the tops and tails off the turnips.
Slice the turnips into thin rounds or wedges, depending on your preference.
Season the Turnips:
Place the sliced turnips in a bowl.
Drizzle with olive oil and toss to coat evenly.
Season with sea salt and freshly ground black pepper.
Serve:
For a fresh, raw snack, simply arrange the seasoned turnip slices on a serving platter.
Garnish with fresh herbs like parsley or dill, if desired.
Optionally, drizzle with a bit of lemon juice or balsamic vinegar for extra flavor.

Zucchini:
Sautéed or Stir-Fried:
Simple Sauté: Sauté sliced or diced zucchini with olive oil, garlic, and your choice of herbs for a quick and healthy side dish.
Stir-Fry: Add zucchini to a vegetable stir-fry with other veggies and your favorite sauce.
Grilled:
Grilled Slices: Slice zucchini into rounds or lengthwise and grill with a little olive oil, salt, and pepper.
Skewers: Thread zucchini pieces onto skewers with other vegetables and grill.
Baked:
Zucchini Bread: Incorporate grated zucchini into a moist and flavorful quick bread.
Zucchini Chips: Slice zucchini thinly, season, and bake until crispy for a healthy snack.
In Soups:
Vegetable Soup: Add chopped zucchini to vegetable soup or minestrone for added texture and nutrients.
Pureed Soups: Blend cooked zucchini with broth and seasonings for a creamy, comforting soup.
In Casseroles:
Lasagna: Layer thinly sliced zucchini in place of or alongside pasta in a lasagna.
Vegetable Casserole: Mix zucchini with other vegetables, cheese, and a creamy sauce for a hearty casserole.
Raw:
Salads: Add raw, thinly sliced or spiralized zucchini to salads for a crisp, fresh element.
Dips: Use raw zucchini sticks for dipping in hummus or yogurt-based dips.
Pasta Alternatives:
Zoodles: Spiralize zucchini into "noodles" and use them as a low-carb pasta alternative, sautéed or served with your favorite sauce.
Zucchini Noodles: Combine with marinara sauce or pesto for a quick and healthy meal.
Stuffed:
Stuffed Zucchini: Hollow out zucchini halves and stuff with a mixture of ground meat, grains, vegetables, and cheese, then bake.
Stuffed Blossoms: If you have zucchini blossoms, stuff them with cheese and herbs, then fry or bake.
In Baking:
Muffins: Add grated zucchini to muffins for extra moisture and a healthy boost.
Pancakes: Incorporate grated zucchini into pancake or waffle batter.
In Fritters or Patties:
Zucchini Fritters: Mix grated zucchini with flour, eggs, and seasoning, then pan-fry for crispy fritters.
Veggie Patties: Combine grated zucchini with other vegetables and grains to make veggie patties.
In Sauces and Dips:
Zucchini Sauce: Cook down zucchini with tomatoes, onions, and herbs to create a flavorful sauce for pasta or pizza.
Zucchini Dip: Blend cooked zucchini with garlic, yogurt, and herbs to make a creamy dip.
Tips:
Texture: For recipes that require cooking, avoid overcooking zucchini as it can become mushy.
Storage: Store fresh zucchini in the refrigerator and use within a week for the best flavor and texture.